When Hilary Cartwright was a soloist with The Royal Ballet, she suffered two falls that severely injured her back. She had slipped discs, which resulted in nerve damage and numbness down one leg. Ultimately, Cartwright had to stop performing due to the injury. After spending two years exploring other paths, she went on to use her interest in injury prevention to inform a teaching career that would become just as illustrious as her time as a professional ballerina.
“Because I was injured as a dancer and that was basically what terminated my career fairly early on, that has always been a driving force for me, to help dancers arrive where they want to be without hurting themselves and without causing damage,” Cartwright says.

Cartwright also dove into writing about dance, contributing to The Dancing Times and publishing a book, Dancing for a Living. Before writing her book, Cartwright taught at the English National Opera and later returned to The Royal Ballet as a company teacher and répétiteur.
In her teaching practice, Cartwright imparts her knowledge of injury prevention and self-care.
“By the time I was about 40, I needed to do something for my own body that was going to keep it healthy and keep it strong because the back injury had never really been addressed. I was still coping with it,” she says.
It was this drive that led her to Juliu Horvath, a former dancer and a yoga instructor. Eventually, Cartwright began teaching Horvath’s Yoga for Dancers technique, and from that—in combination with her own philosophies and educational observations—she later developed Yoga Narada, a Yin-yoga–influenced practice that emphasizes flexibility, control, and smooth transitions. Horvath and Cartwright also co-founded White Cloud Studio, where they developed the immensely popular Gyrotonic method.
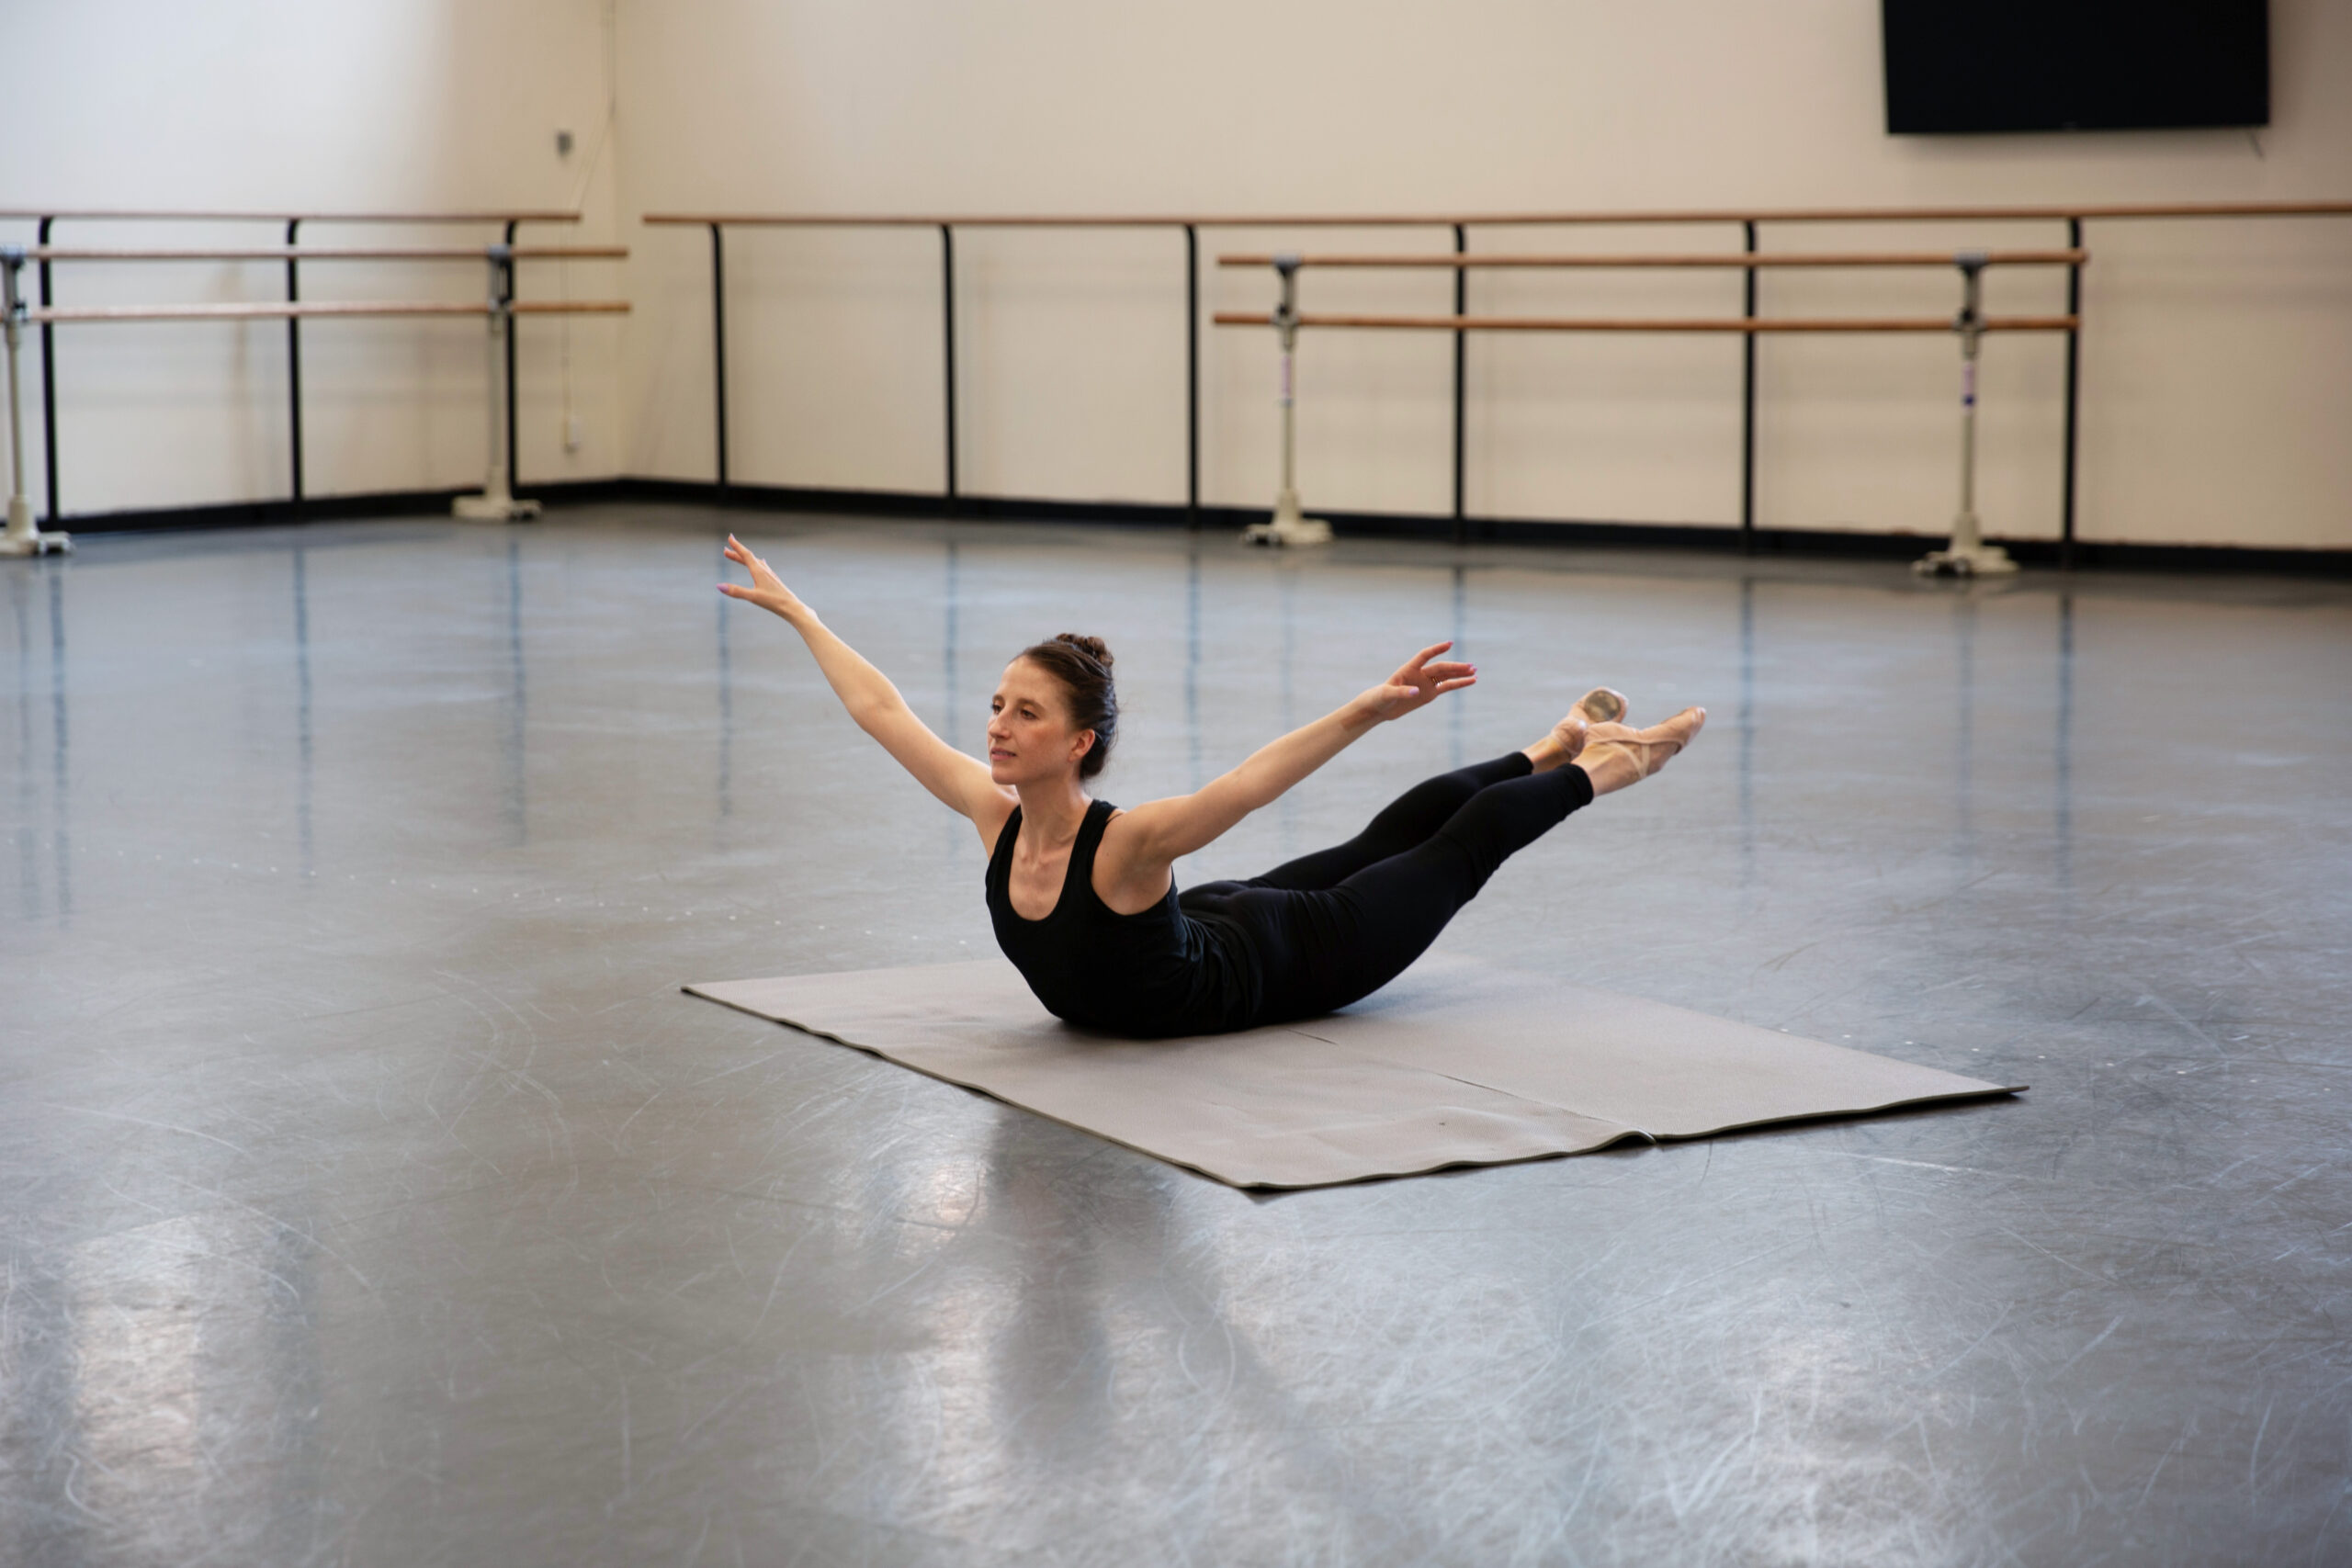
For her Dance Teacher Lesson Plan, Cartwright draws from Yoga Narada to emphasize strong lines and fluid transitions in port de bras and arabesque. In her classes, Cartwright focuses on full-body connection, so dancers can find expressivity and freedom in their movement, along with strength and control. These are also important elements in this lesson plan, which includes two short warm-up exercises (which Cartwright says would typically be performed after a preliminary warm-up) that inform the final 16-count movement phrase, all demonstrated by Cartwright’s student, New York City Ballet soloist Sara Adams.
Step by Step
Warm-Up Exercise 1
Step 1: Start lying on your back, with legs straight, feet flexed, and arms extended in a relaxed high-V position above the head.
Step 2: Slowly pull the elbows open while keeping contact with the ground. At the same time, the back arches, the chest lifts off the ground, and the knees bend slightly, as you position your body over the pelvis.
Step 3: Slowly release to the starting position.
Step 4: As you release, port de bras the arms down to a low fifth position as you lift the head and upper back off the ground. Turn out the legs and feet and hover them above the ground.
Step 5: Move the arms above the head as you flip over onto your stomach, ending balanced on the pelvis with the legs hovering above the floor, the torso and head lifted, and the arms in a high-V position.
Step 6: Roll back to your back, returning to fifth en bas with the arms as the legs continue to hover above the ground.
Step 7: Release to the floor, sweeping arms above the head in order to prepare for the second side.


Warm-Up Exercise 2
Step 1: Begin standing in a small first position with the arms by your sides.
Step 2: Sweep the arms above your head, opening the chest, looking to the ceiling, and reaching slightly behind you, as if preparing for a vinyasa in yoga class. During this step, Cartwright encourages a focus on the connection with the base of the spine.
Step 3: Bend forward, keeping the arms overhead. Focus on “lifting up and over the pelvis,” Cartwright explains.
Step 4: Hold the ankles while pushing down, rounding in the lower back until the arms are straight.
Step 5: Relax into a forward fold.
Step 6: Keep the arms overhead while rising to standing with a natural spine. “It’s the strength of the leg that gives that ability to come up,” says Cartwright.
Step 7: Once standing, arch the back slightly, open the chest, and look towards the ceiling as the arms open and return to your sides.
Movement Phrase
Begin in fifth position croisé, right foot front, arms fifth en bas.
Counts 1 & 2: Petit développé to effacé devant.
Counts 3 & 4: Rond de jambe to effacé derrière.
Counts 5, 6, 7 & 8: Circular port de bras en dehors.
Counts 1, 2, 3 & 4: Brush through first position to first arabesque. Lengthen in the arabesque.
Counts 5 & 6: Fondu the standing leg, moving the arms to a third high position, with the downstage arm high.
Counts 7 & 8: Release and pas de bourrée to change sides.


Watch Cartwright’s full lesson plan video tutorial below.

