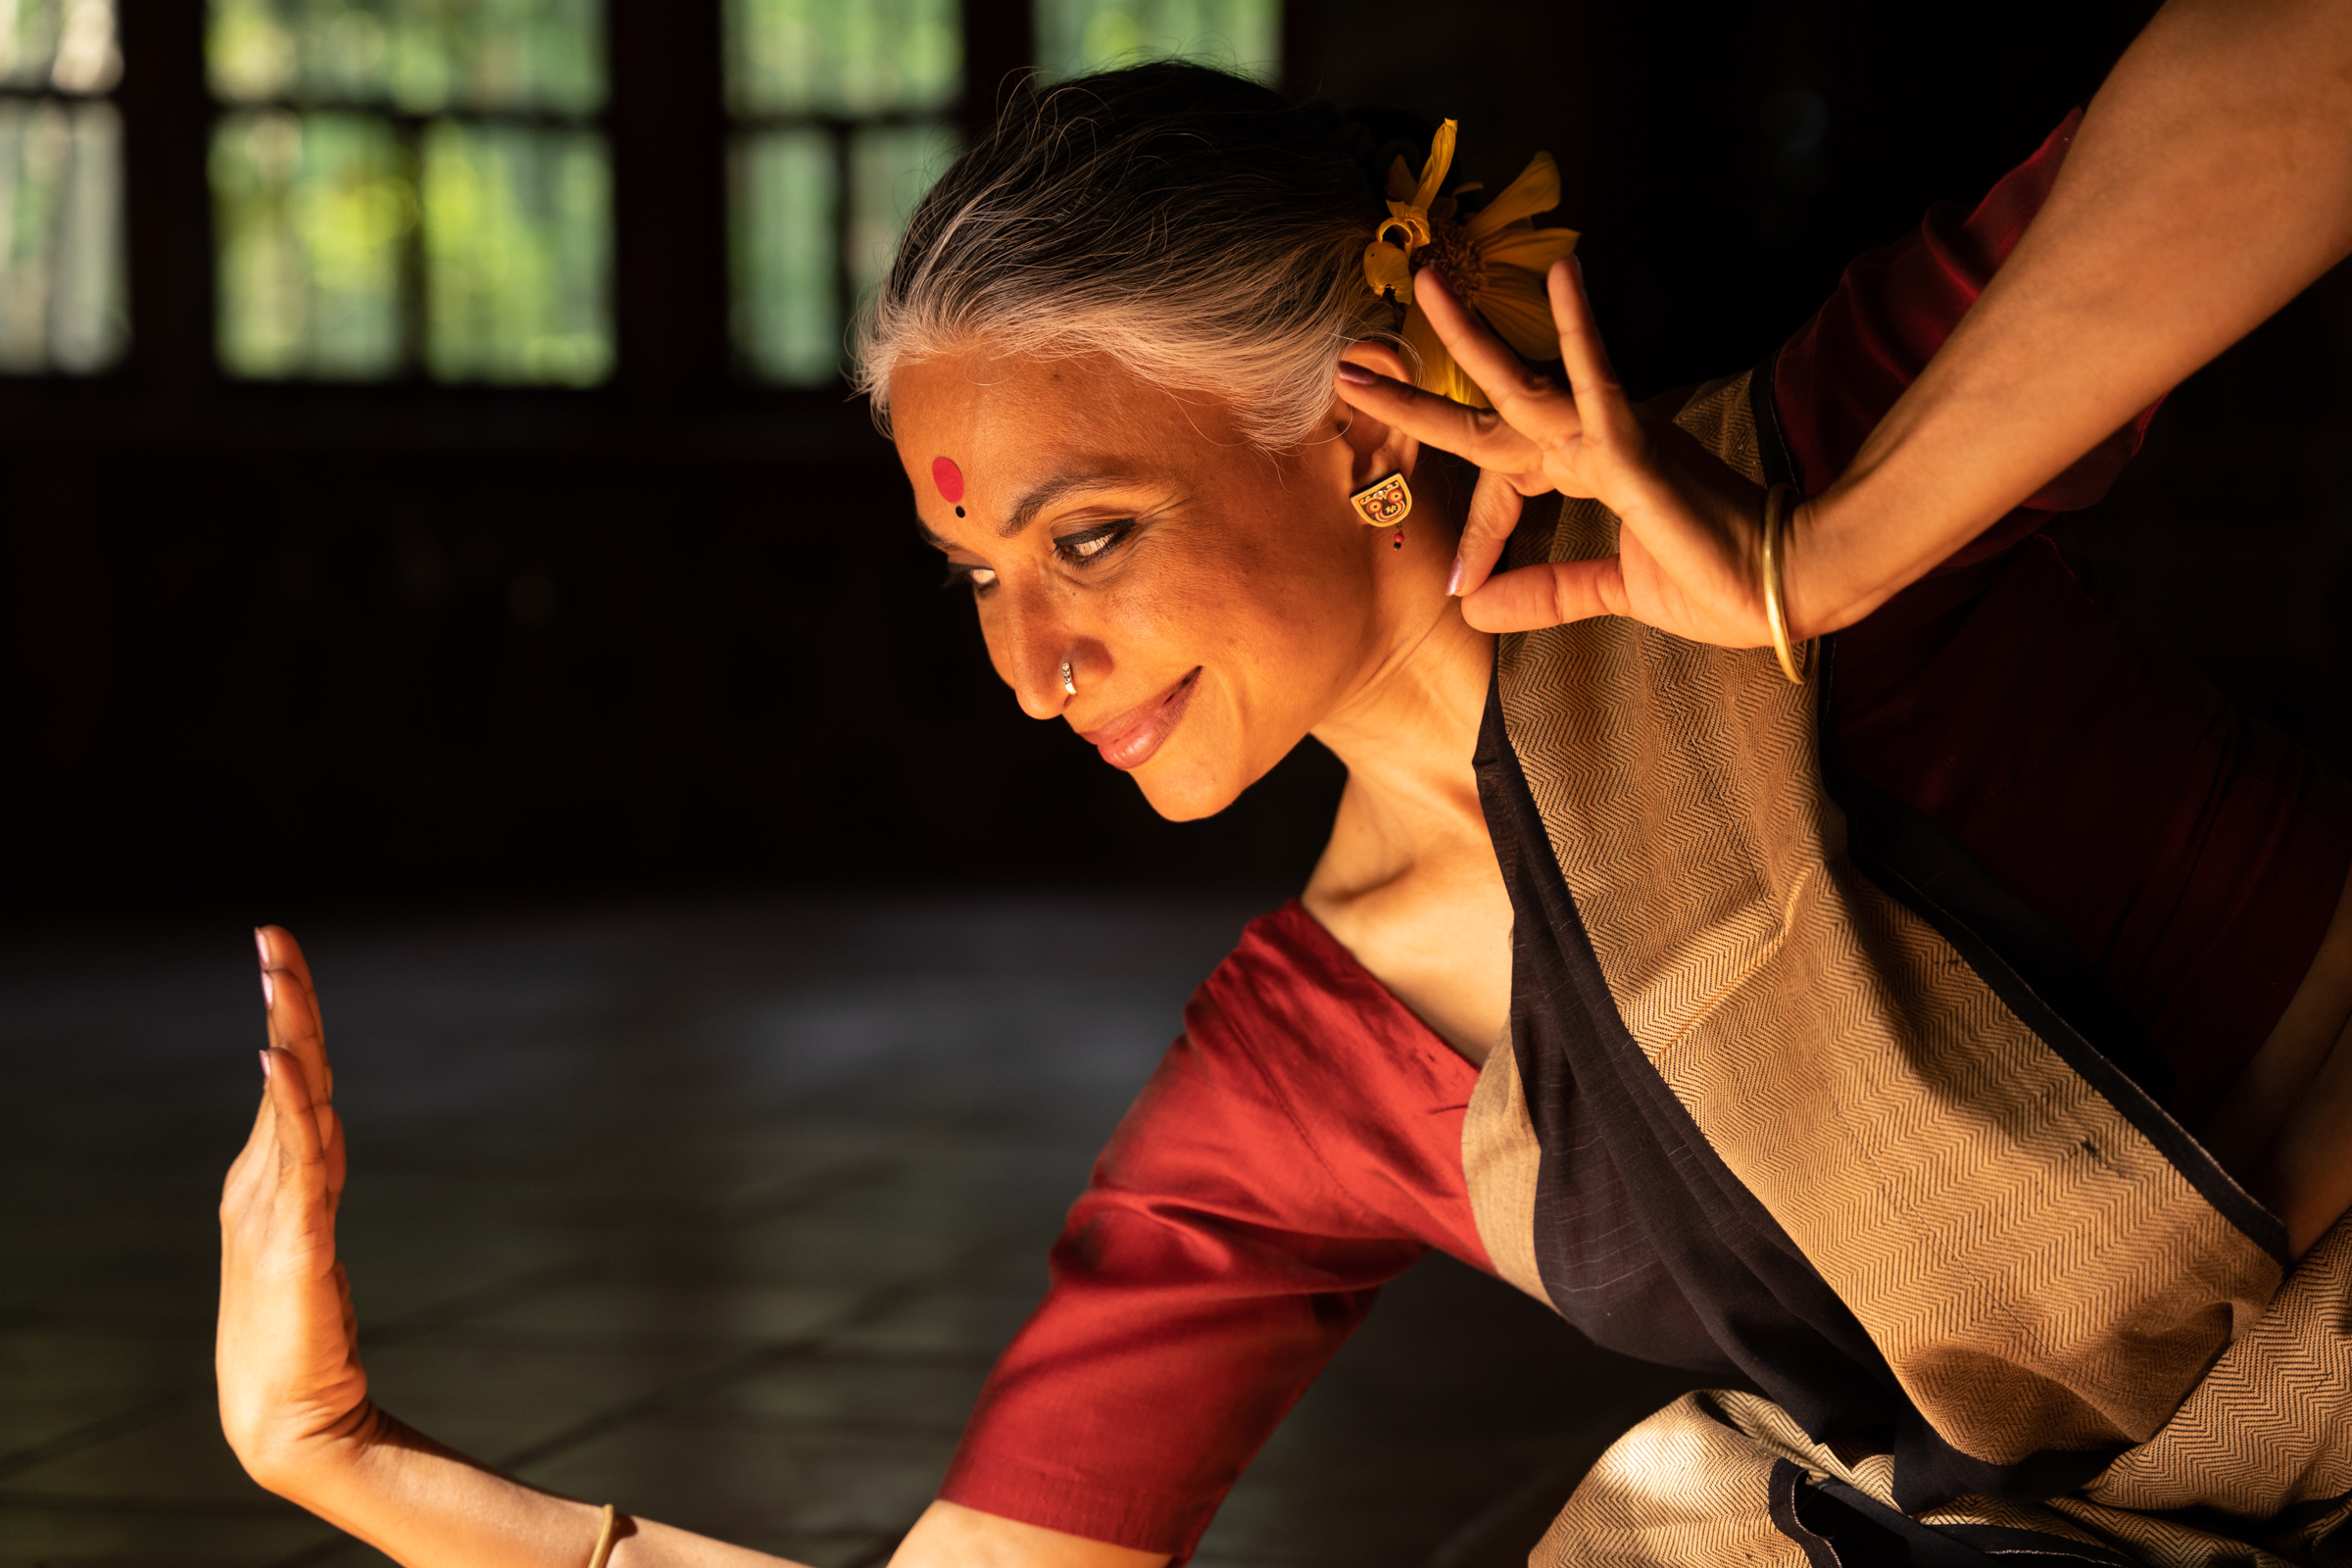

Odissi is said to be the oldest of all of India’s classical dances. But for Bijayini Satpathy, one of the form’s foremost interpreters and most influential teachers, that doesn’t mean the way Odissi is taught shouldn’t evolve.
Satpathy, who has been teaching since 1997, serving as the prestigious Nrityagram School’s director of training and outreach for 20 of those years, has created a new training pedagogy for the Odissi curriculum. For one, she’s used her deep knowledge of yoga, anatomy, kinesiology and martial arts to incorporate conditioning into Odissi training, a much-needed innovation considering Odissi typically requires maintaining a turned-out, knees-bent position for long periods of time.

She’s also worked to fill the gaps that she sees existing between what has historically been taught as part of Odissi training and what actually gets performed in Odissi choreography. (Students traditionally learn movements in the form’s basic postures, for instance, but may not learn how to negotiate and transition between them.) Satpathy’s curricular updates, then, teach transitions and patterns often seen in Odissi choreography through practical movement series.
One such transition common in Odissi: That between the chauka, or square position (the legs turned out from the hips, about a foot’s distance between the heels, and the knees deeply bent) and the tribhangi position (“it’s like a ballet fifth, but not so closed—there’s a certain angularity towards the front,” says Satpathy), which requires a complex and delicate shift of the weight.
“We try to keep the pelvic shift from side to side silent, though it’s naturally happening,” she says.
Satpathy created the below sequence to teach this `shift to intermediate-to-advanced students already well-versed in Odissi’s basic positions and hand gestures. “It doesn’t happen in one class, because there’s so much to negotiate,” she says, adding that she’d typically teach this series over the course of a month or so.
Step by Step
How to transition from chauka, the square central-weight posture, to tribhangi, the one-leg-weight tri-bend posture:
Step 1: Start standing in the chauka position, with the legs turned out from the hips, about a foot’s distance between the heels, and the knees deeply bent. The weight should be completely centered and equally distributed between both legs.
Step 2: Learn the foot pattern: Stomp on the right foot, then the left foot. Shifting your weight onto the left foot, move your right foot forward in front of your left heel, with internally rotated hip and the toes lifted and the heel into the ground. Then stomp with the back (left) foot, and then the front (right) foot, changing from an internally rotated hip to external rotation.
Once you move the right foot forward, you’ve moved from the chauka position into the tribhangi position. All the weight should be on the back leg, so that the front leg is free to gesture.
Step 3: Pick up the back (left) foot to repeat this pattern beginning on the opposite side. Get comfortable with this footwork in a rhythm of 1-2-1-2-3.
The step is danced on 4 beats. On the right side: Stamp right in chauka on count 1, then stamp left in chauka on count 2, place internally rotated right heel on count 3, stamp on the left weight bearing foot at the mid space between count 3 and 4, complete step with stamping on externally rotated right flat foot on count 4.
To help you shift your weight from both feet to one foot at the correct time, think of there being an “and” within this rhythm (1-2-and-1-2-3). The weight should completely shift from two feet to one foot on that “and.” Satpathy’s other tip for smoothly shifting the weight: Focus on flexing at the joints (hip, knee and ankle) of the gesturing leg in order to lift it up.
Step 4: Practice this pattern until you can speed it up, making sure that as you add speed you aren’t compromising the centeredness of the chauka position.
Step 5: Learn the hand gestures. The left hand (when starting on the right side) does the katakamukha mudra (joining the thumb, index finger and middle finger, with the other two fingers extended to create two 45-degree angles) over the head, with the elbow bent and the thumb facing upwards. (This arm stays stationary for the whole five counts.) You should be creating three separate lines, with bends at both the elbow and the wrist.
Step 6: Satpathy suggests thinking about extending the axis coming up from the crown of the head with the hand gesture over head.
Step 7: Meanwhile, the right hand creates the alapadma mudra, with the pinky finger extended and the other fingers following to create a flowerlike shape. It begins on the right side of the body, with the arm extended to the side, with slight bends in the elbow and wrist and the fingers oriented downwards. (The hand should be slightly lower than the shoulder.) From there, lift the wrist slightly until the elbow is level with the shoulder. Then, turn the wrist in towards the chest as this hand shifts to mirror the hand in katakamukha mudra (i.e., facing the opposite direction, with the thumb facing down and the fingers extending up). The right wrist then turns and extends the hand across the body, returning to the alapadma mudra with the fingers extending down. The whole sequence of this moving hand—a small figure-eight—takes place over the five counts, with the hand arriving at the chest to mirror the top hand on the second count and in the crossed alapadma mudra on the fifth count.
Step 8: The arms then switch starting positions to begin on the other side.
Step 9: Practice the hand gestures without the feet until you are confident, then try combining them.
Step 10: Layer on the head movement and the upper body movement. The head should follow the moving hand as it goes across the chest. The torso should bend towards that hand by shifting the rib cage in the opposite direction. The spine straightens when the hands mirror one another, then bends again in the other direction. Keep the shoulders down and the hips steady.
Step 11: Finally, create what Satpathy calls an “inner world” by ascribing meaning to the hand gestures: She suggests thinking about gently picking up a delicate flower, playing with it, and then dropping it to the side. Allow that feeling to inform your facial expression: “There’s always a smile, we try to make the experience visible,” says Satpathy. “It is a joyous experience, and we share that, so everything needs to be projected.”
Watch the full-length video tutorial below: