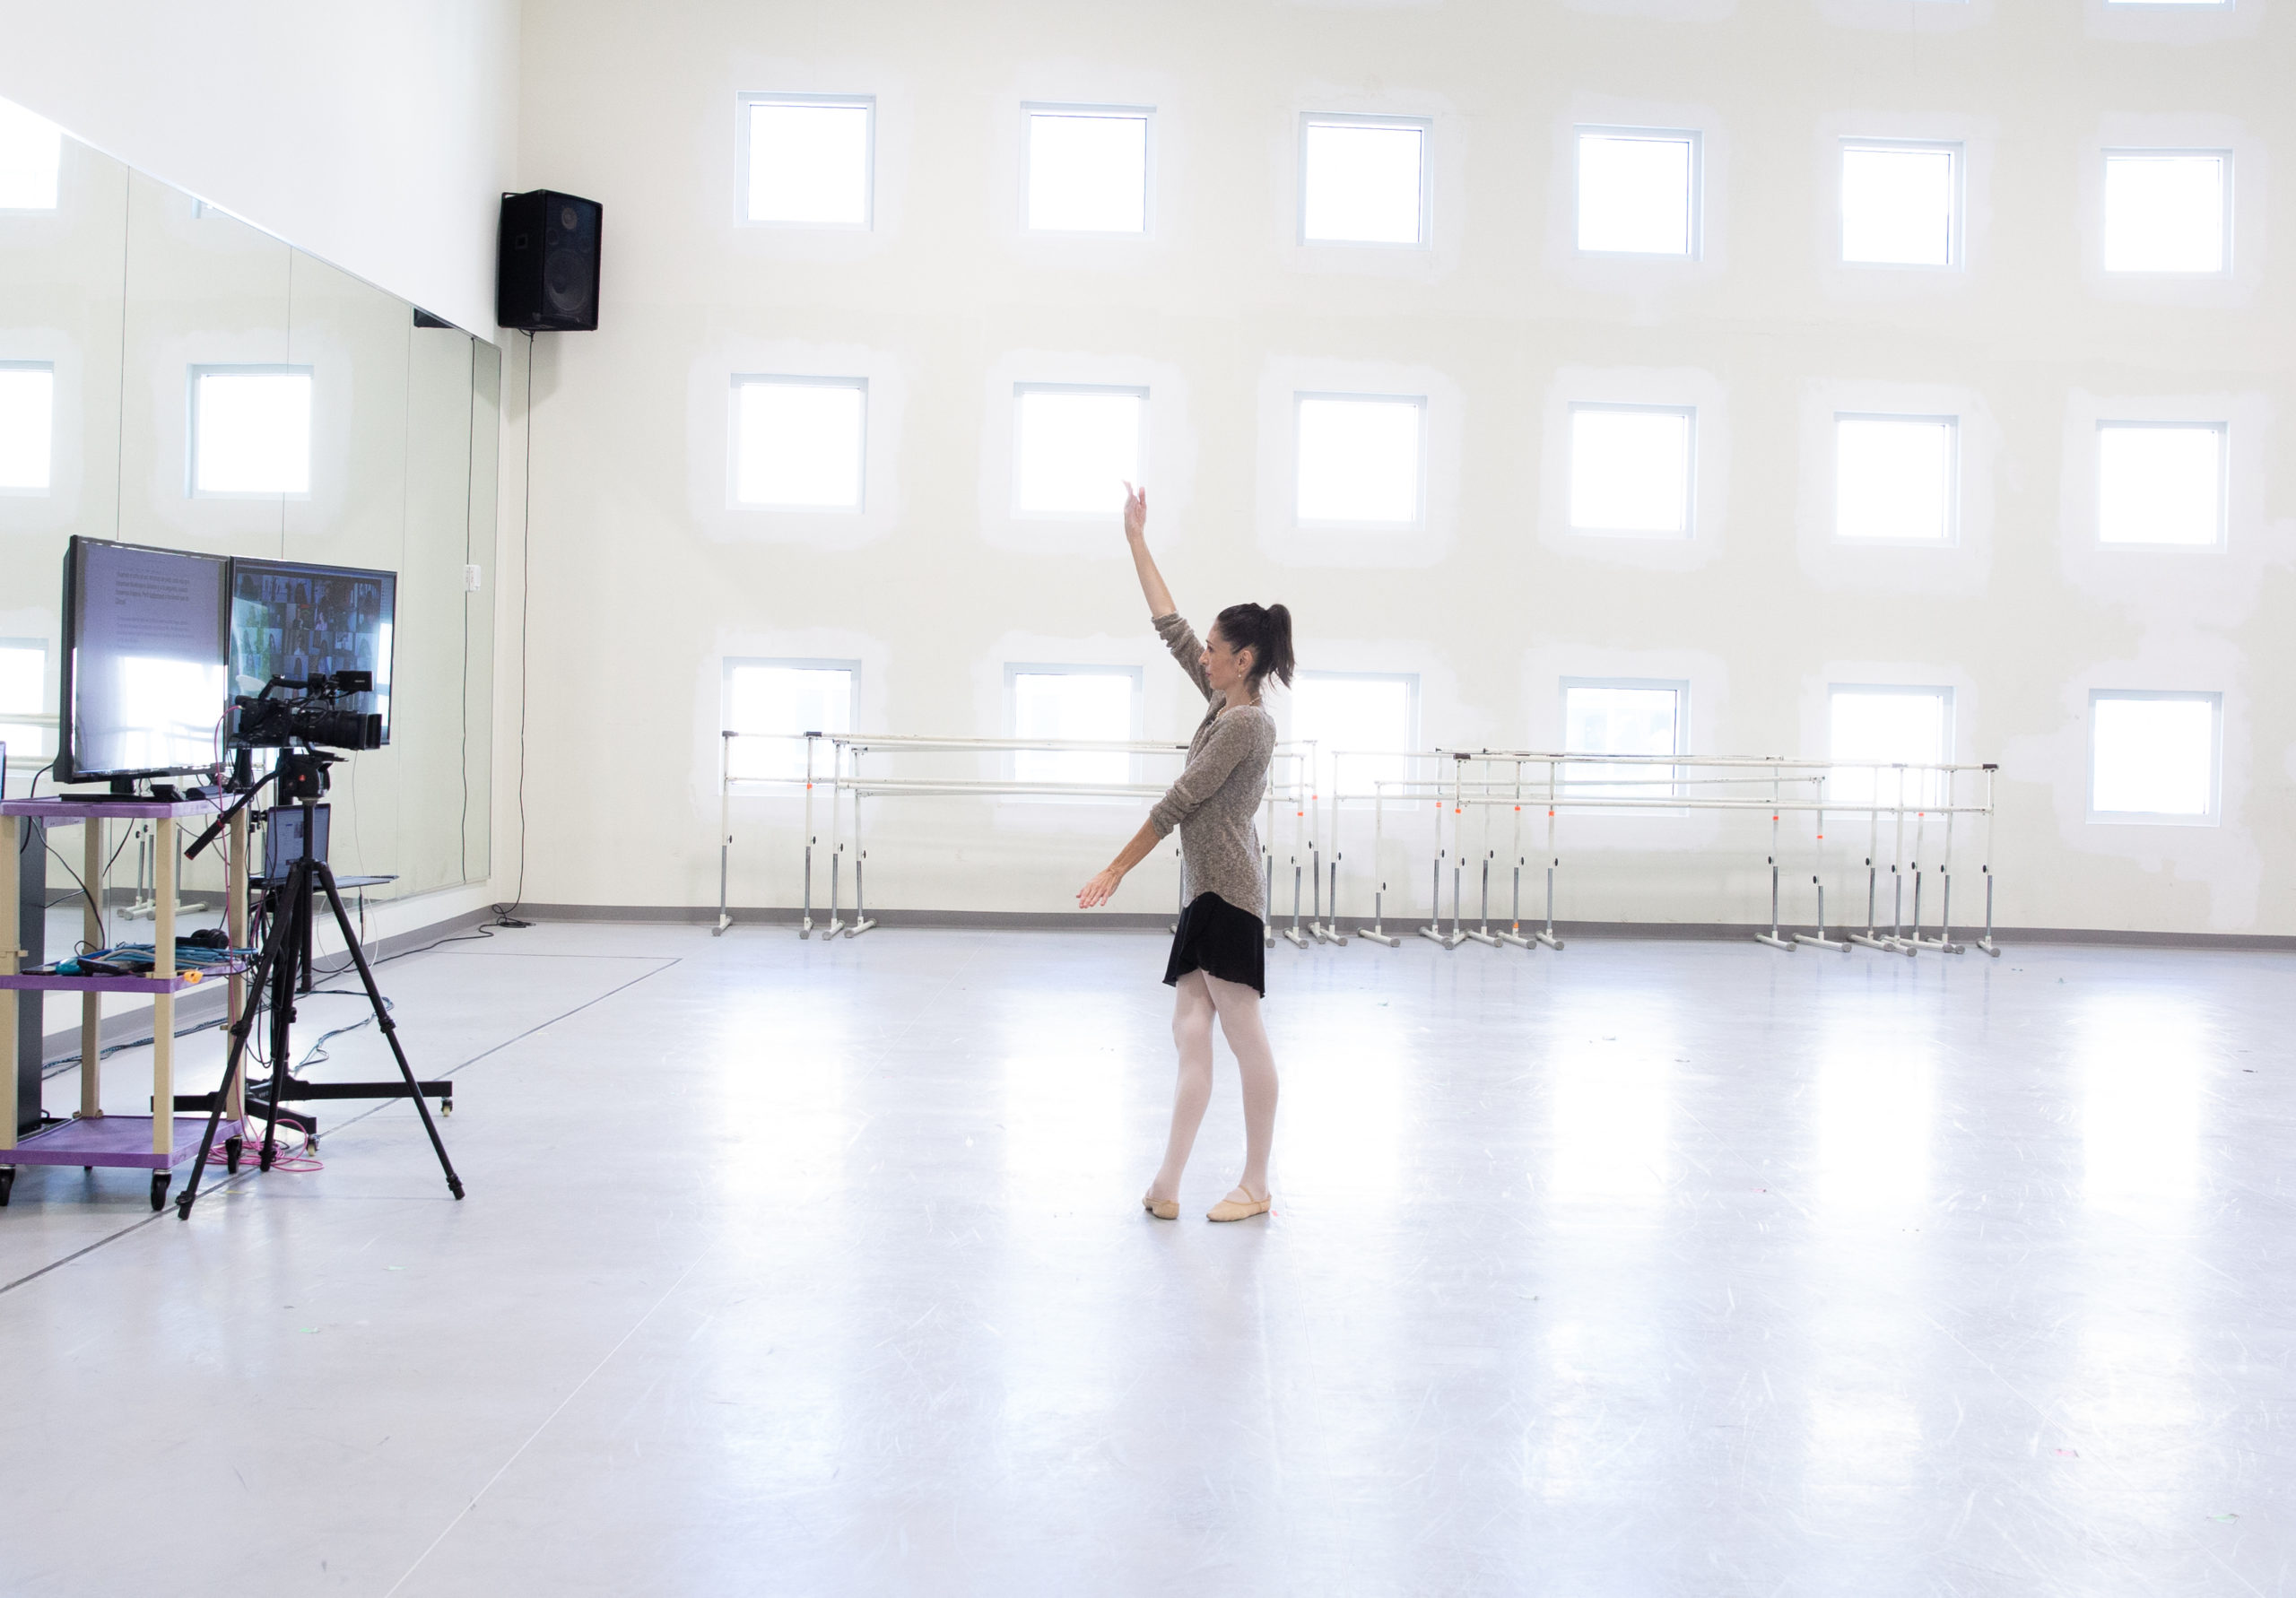
Summer intensive video auditions, once mostly reserved for international students, are the new normal. While this may expand opportunities for your students, video auditions also give you, their home dance teacher, a whole new set of responsibilities. At the Michigan Ballet Academy, Ericka Goss often does everything from vetting the program to planning the combinations to filming the video and maybe even editing it.
Use these tips from Goss and other experts to help your students make the most of their video auditions this summer intensive season.
Do Your Research
The first thing Goss does when approached by a student about a summer intensive audition is check that the program is legit, and look at the audition requirements to ensure the student follows directions closely. If a student is auditioning for multiple programs, see where their requirements overlap and diverge so you can plan how to efficiently film them all in one session.
Be Succinct and Simple
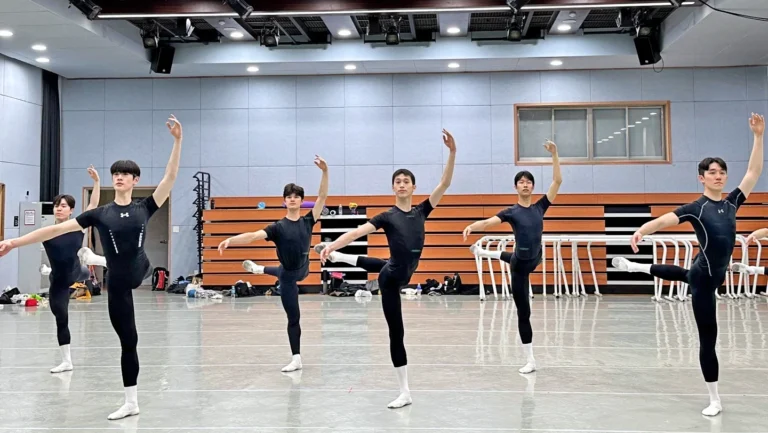
Don’t use this as an opportunity to try anything new or fancy, says Miami City Ballet School artistic director Arantxa Ochoa: Go with what your student is familiar with, and what they’re good at. To keep things moving, Goss typically has her students just do one side of each barre combination, and merges combinations where it makes sense. (She often puts fondus in with rondes de jambe, for instance.) Goss always films each combination separately, so she can piece together the best takes. Remember that the video doesn’t have to be perfect: “We’re looking at who they are as a dancer and where they are right now in their training,” says Ochoa. Goss sets her limit at three takes per combination.
As long as they are combinations your students are familiar with, they shouldn’t need much in the way of rehearsal, says Goss. If the audition calls for a variation, that’s a different story: In that case, Goss recommends working with the student for a few weeks prior to filming.
Coach Students for the Camera
Some programs will ask for the student to introduce themselves at the beginning of the video—Goss has each of hers do this regardless, to give a chance for their personality to shine through.
Remind your students that they need to perform for the camera as if it were a judge sitting in front of them. “They need to come out of the video,” says Ochoa. “They have to project much more than when they’re in the studio.”
Performing also means no looking in the mirror, fidgeting or adjusting their leotard, says Goss. (Speaking of leotards, have students wear a solid colored-one with tights, and a secure, clean bun.)
Turn the Studio Into a Set
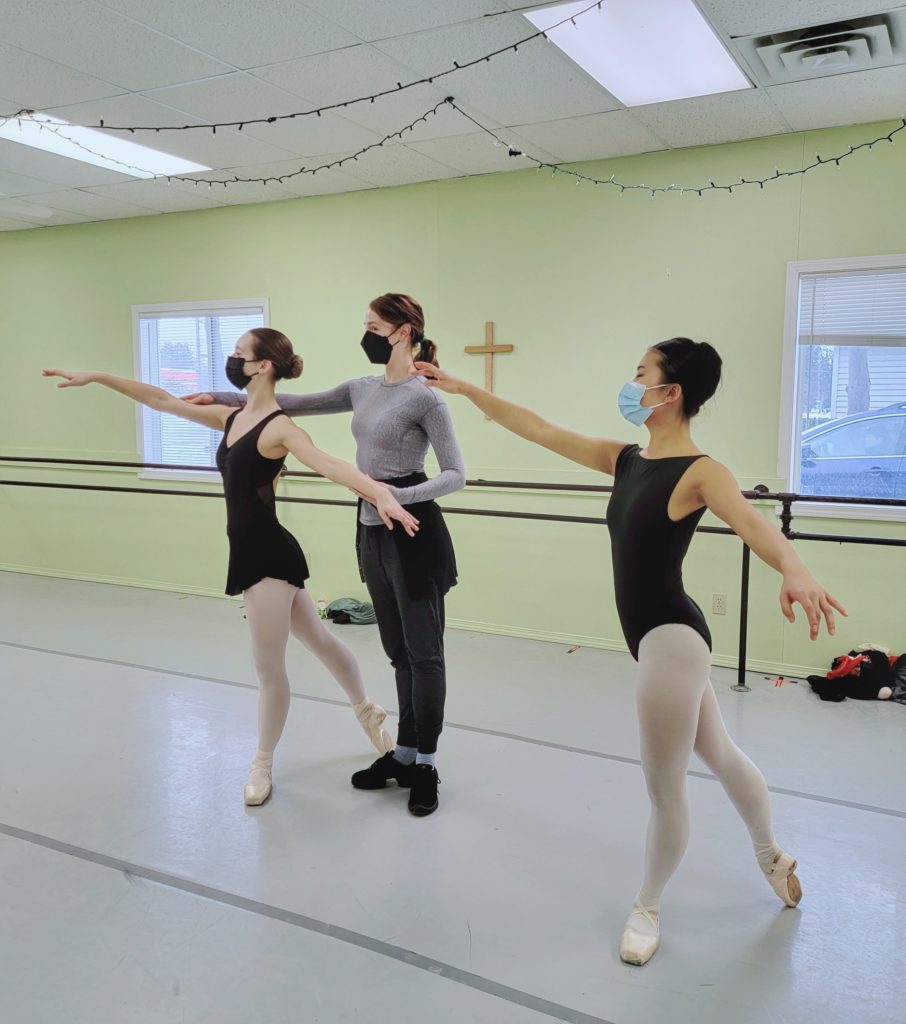
Making your dance studio into a video audition set is probably simpler than you think. Nel Shelby, a videographer who has worked with Alvin Ailey American Dance Theater, Jacob’s Pillow Dance Festival, The Juilliard School and many more, says that while a fancy camera is nice if you have one, an iPhone or iPad works perfectly well.
Shelby recommends two simple ways to upgrade your iPhone camera: a small tripod or gimbal to ensure steady shots; and a wide iPhone lens to more easily capture center work (especially if your studio is very rectangular). For a crystal-clear video, change your iPhone camera’s settings to film in 4K 30fps (this will produce large files, though—if that’s an issue, she says filming in 1080p is totally fine). You can also tap your iPhone’s screen to brighten the dancer, if need be.
The light should always be in front of the dancer, shining on their face. Natural light is ideal, if you have it. If you’re not sure of the biggest light source in the room, hold up your palm and see where the most light falls on it. In lieu of natural light, you can use a makeshift light source (with a ring light or whatever else you have around) to place in front of the dancer—just be aware of where the mirror is, so it’s not visible in the video.
Film the barre work at a slight angle in front of the dancer, says Shelby, so they aren’t straight-on or straight-side shots. The lens should be about at eye height. If the dancer is jumping, hold down the tripod so it doesn’t bounce and produce a shaky video. Be sure to film horizontally, and place the music source nearby. (Do a test to make sure it’s not so loud that it’s screeching into the camera mic.)
If this sounds too complicated, rest assured that most students will know exactly what to do. Why not have multiple dancers come knock out their videos the same day? They can then be your tech assistants when they aren’t dancing.
For Live Virtual Auditions
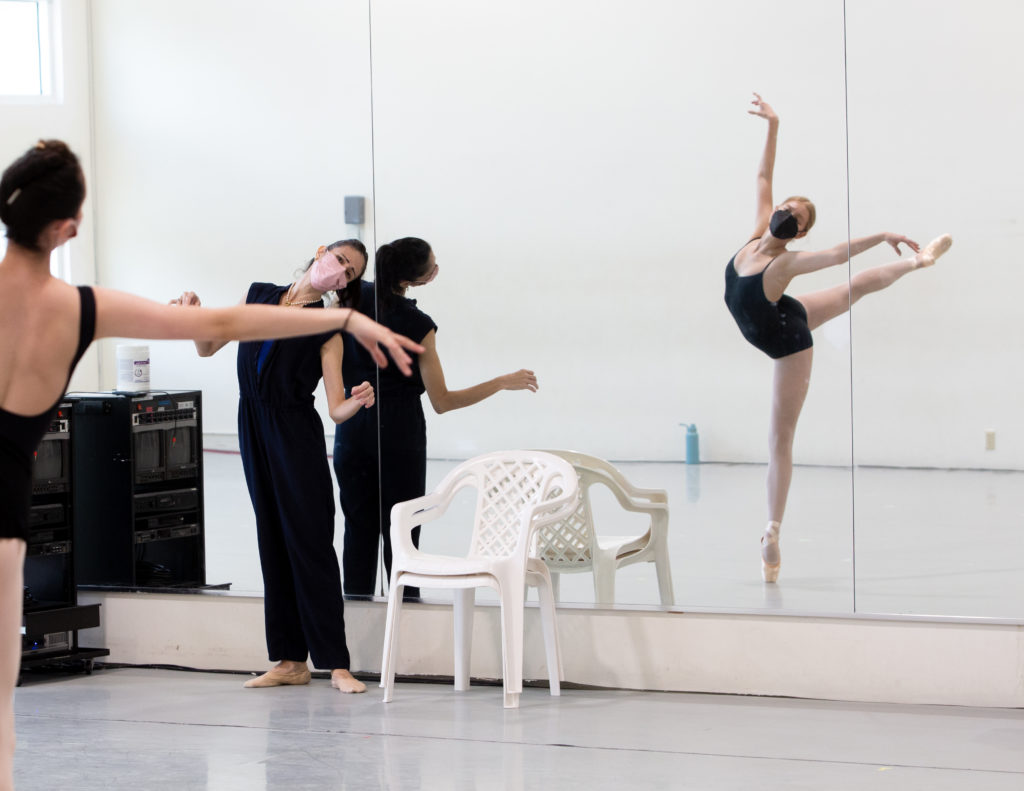
If a live virtual audition is an option, Ochoa recommends taking it, as it gives students the chance to get a taste of the school and the teaching style.
The same principles about lighting and angles apply, says Shelby: If the student is Zooming in from a laptop, have them place it at eye level on a stable surface, like a stack of books (avoid something like a pillow). Have students do a test run where they play with Zoom settings—the “touch up appearance” feature, the “adjust for low light” feature, and the HD setting may improve the video quality. No crazy virtual backgrounds, though! And make sure the Wi-Fi connection is strong.
Putting It All Together
Once you have the footage, be careful how you send it: Text and WhatsApp can sometimes mess up the video’s quality. Upload it to Dropbox from your phone or AirDrop it directly to a computer, suggests Shelby.
Hopefully, editing the video won’t fall into your purview, though Goss says she does that on occasion when the student and their parents don’t feel confident to do it themselves. Shelby says the simple editing programs already on your phone or computer will do the trick to stitch the videos together and add text. Make sure not to add any fancy effects or transitions, and review the video before your student sends it off to ensure they’ve followed directions, and that they’re putting their best foot forward.
Good luck!

