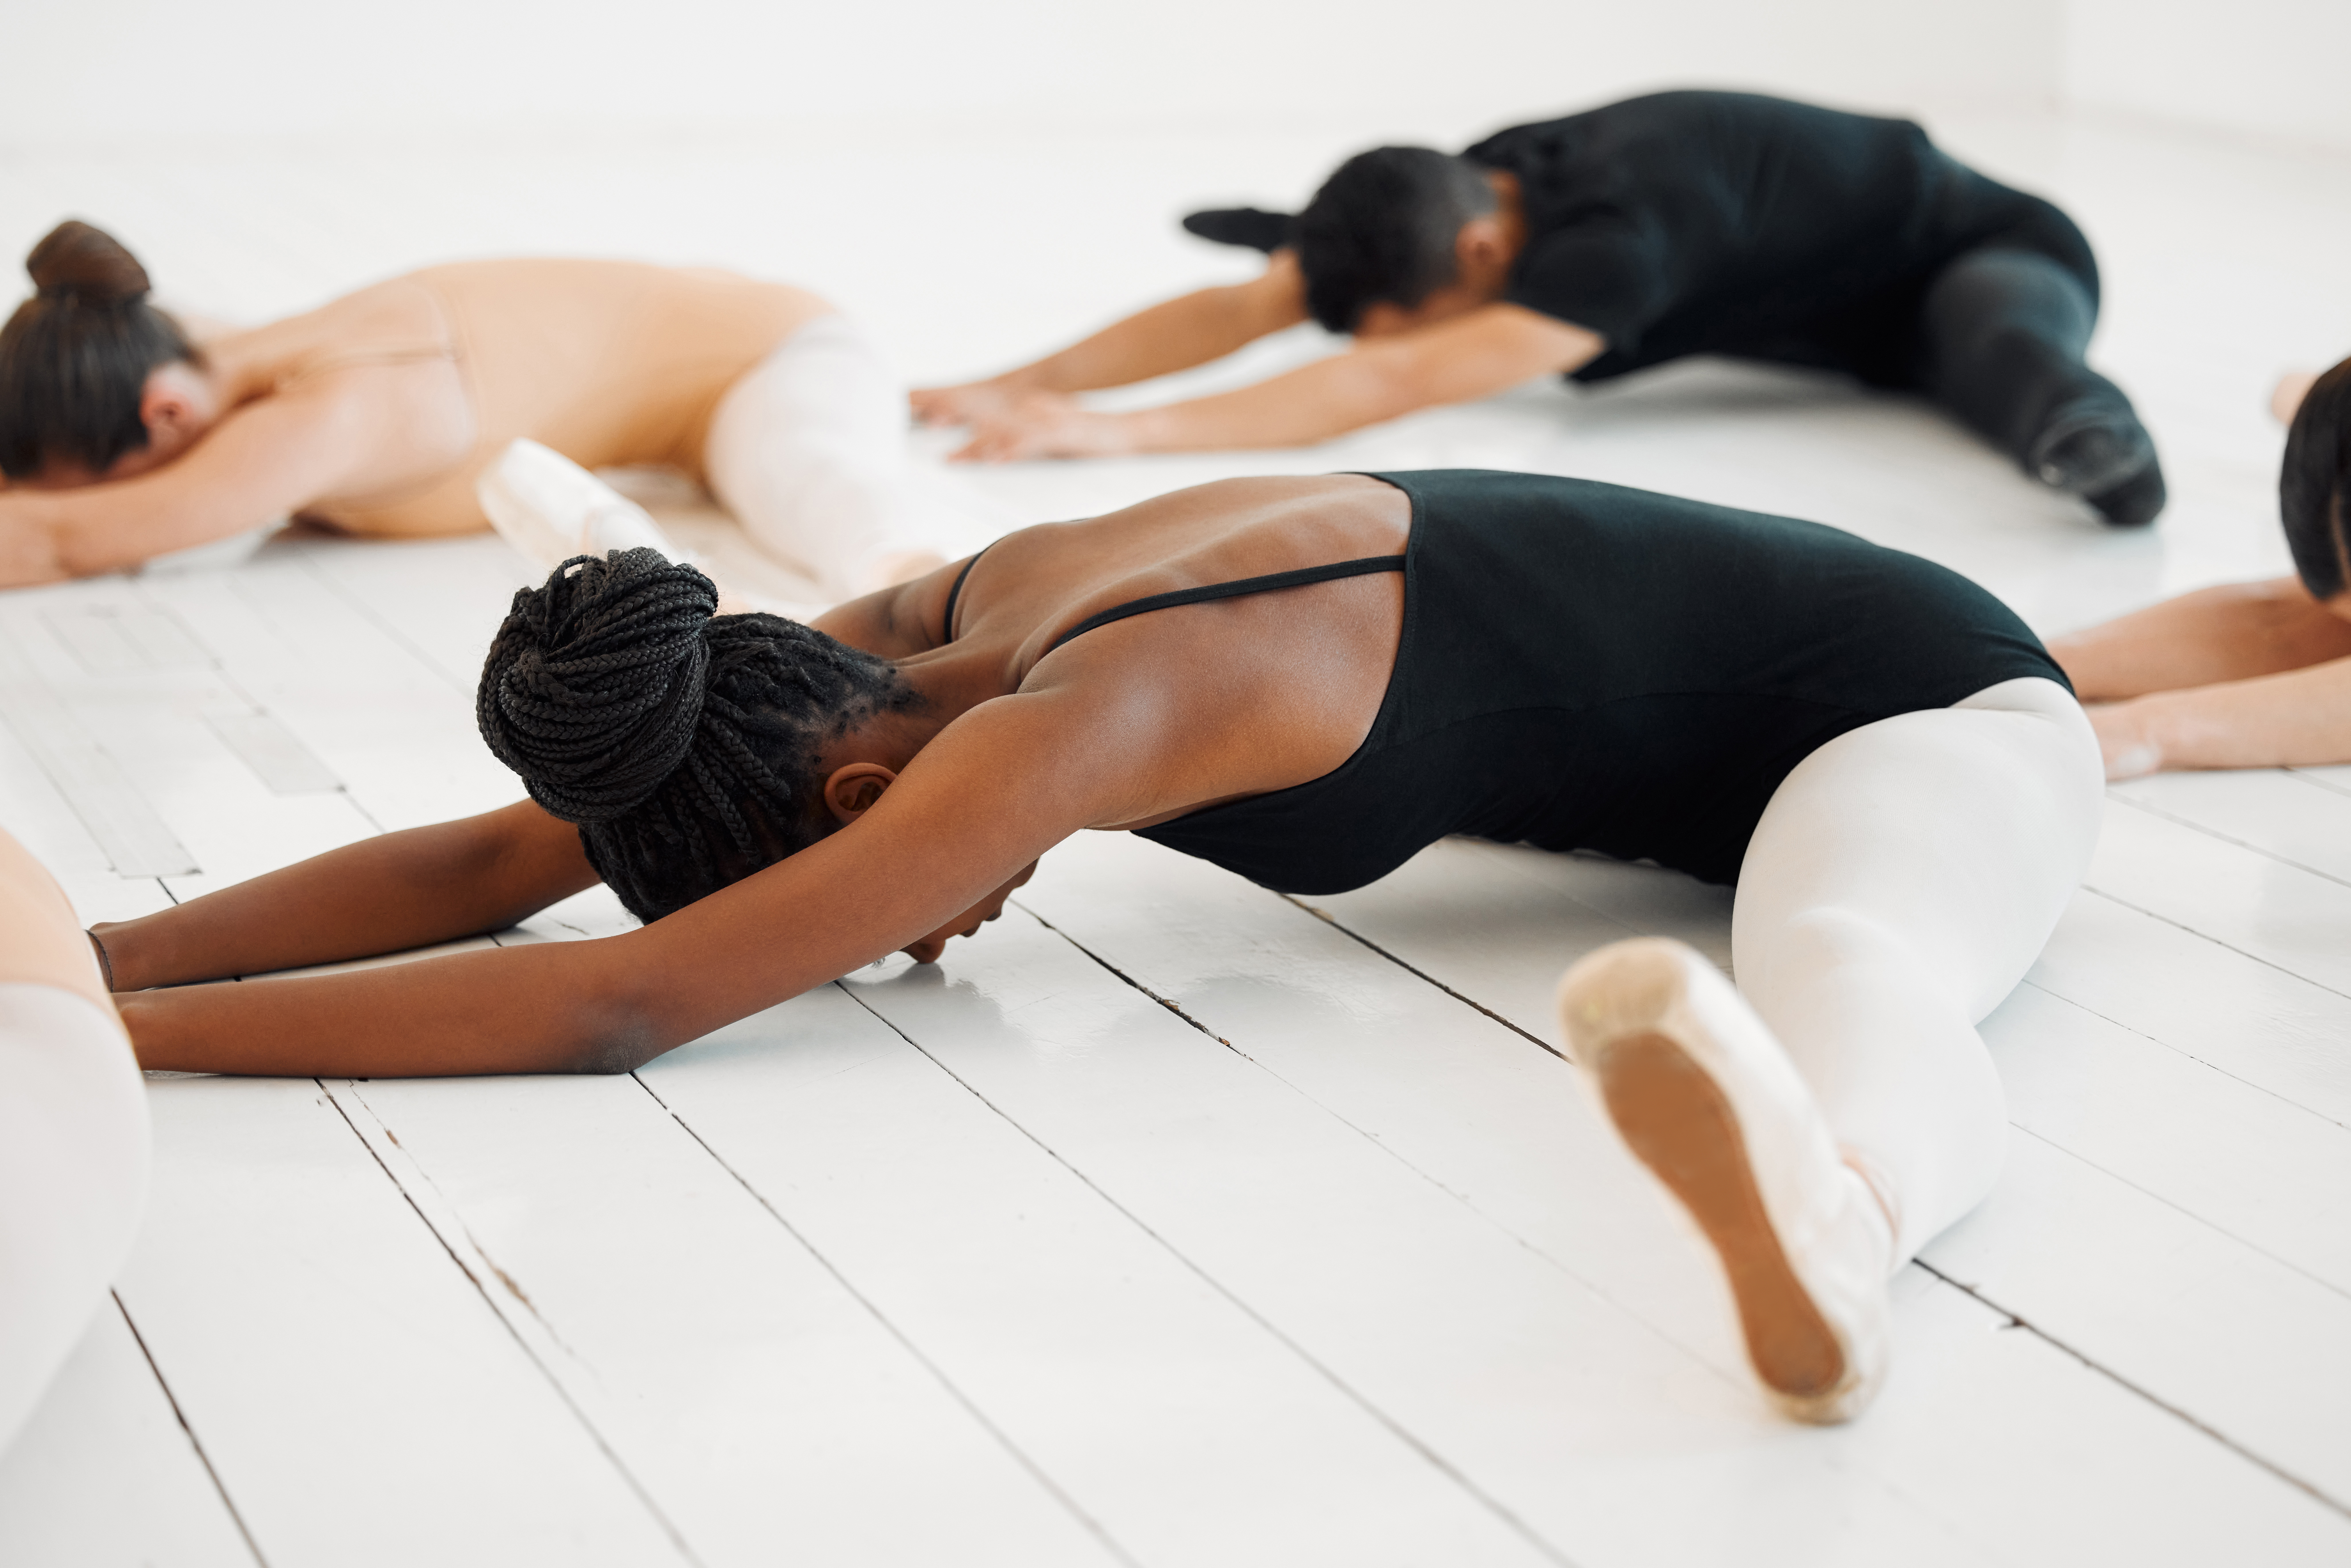
All dancers want to be flexible and strong. But many spend way more time focused on stretching over strengthening exercises to attain those beautiful lines we connect with good technique. The truth is, in order to unlock more range of motion, dancers need to incorporate both flexibility and mobility in their dance training.
What Are Flexibility and Mobility? And How Are They Different?
Flexibility is the ability of a muscle to lengthen passively through a range of motion. For example, to test the flexibility of the hamstring muscle, you could lie on your back and have another person slowly raise one of your legs until the knee bends. This is the goal of most of our stretching efforts—to improve the flexibility of specific muscle groups, such as the hip flexors, the calf muscles, the hamstrings, pec muscles, etc. Mobility, on the other hand, is different from stretching even though you can get a similar end result. It’s the ability of a joint to actively move through a range of motion, which is a measurement of the distance and direction a joint can move. Mobility is the ease with which that movement happens.
Most stretching involves holding a position and breathing into it, whereas mobility involves movement and motor control, which is how the nervous system coordinates the movement. One strategy is not better than the other. Mobilizations are just another way to work towards the goal of easy and free motion at the joints.
Why Mobilization Exercises Should Be Incorporated into Dance Training
“Motion is lotion” is a saying that has been around for a long time. Many dancers are in fact surprised by their mobilization results, as the stretching sensations don’t feel strong enough to yield positive changes in their flexibility. These are often the students who hold a lot of tension in their muscles and standing posture. Mobilizing exercises can gently encourage muscles to move through a range of motion by becoming a dynamic movement that involves the nervous system.
Students who identify themselves as constantly tight might also think of mobilizations as intentional wiggling, where they are repeatedly moving through a controlled range of motion through movement that should feel easy and free.
Mobilizations can also be very useful in helping students break out of old patterns, especially those who stretch repeatedly yet don’t feel like they are getting anywhere. These students can try mobilizing a joint that has tight muscles (the hip joint, for example) throughout the day, even when they aren’t fully warmed up. Because they aren’t going to the end ranges, they don’t need to be concerned about straining a muscle by putting too strong of a pull on it.
Here are some mobilization exercises that can be incorporated into your students’ daily practice alongside traditional stretching techniques.
Mobilizations for the Hip Joint
Get your students to stand with their front foot resting on something that’s higher than the knee but lower than the hip joints. Often the arm of a sofa works well. Start by having them gently press forward into a standing lunge. The back knee may bend slightly, and that’s OK. Repeat at least 10 times before changing legs.
Chair mobilization (my favorite that I do throughout the day): Sit on the front edge of a chair and gently bend and straighten the back leg while maintaining an upright pelvis. Do at least 5 repetitions. You might also be able to easily do up to 20.
Mobilization for the Ankle Joint
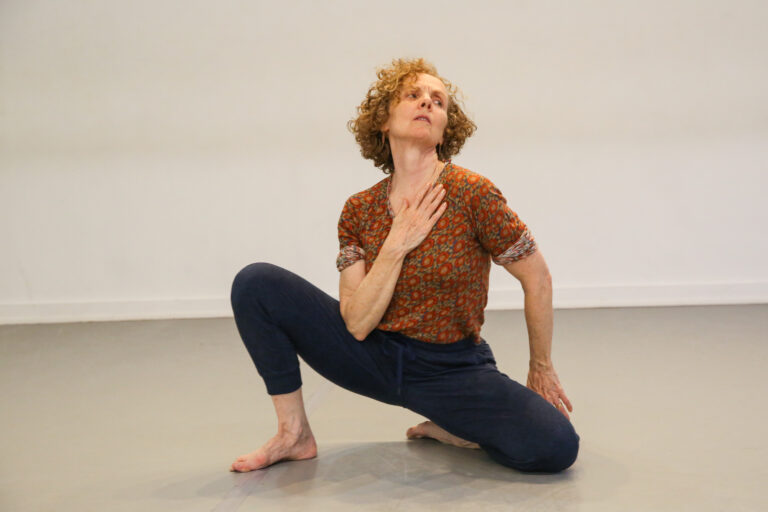
To mobilize the ankle joint, kneel and place one foot on a book or half foam-roll. The higher the surface the ball of the foot is placed on, the stronger the stretch at the back of the ankle. The back leg can be parallel or turned out. Gently rock forward, feeling a gentle pull at the back of the ankle. Don’t push it. Too strong of a force will strain the muscle. You aren’t stretching the muscle, you are mobilizing the joint and should be breathing easily as you move. Repeat on the other side.
Mobilizations for the Thoracic Spine
Figure 8s are a great way to loosen up the shoulder girdle by moving (mobilizing) the shoulder blades on the back. Swing one arm easily in front of the body and then behind. Don’t control the exact trajectory of your arm; instead, explore how much you can release the weight of the arm on the drops. Do 8-10 figure 8s on the first side, notice the difference in the middle back area, then 8-10 reps with the other arm.
Here’s another mobilization exercise for the thoracic spine: start in a sitting position on the floor with the right foot crossed in front and a ball or foam roller placed to the right of center. With your right hand on the ball, gently rebound, feeling the length along the right side of your body into the right hip. Then take your right hand, turn the little finger side to the ceiling and gently reach sideways, allowing your arm to easily bend and straighten to feel the length along the right side as you easily rebound. This is not a held stretch, be gentle with your sidebending. Repeat 4-10 times on each side.


