The Flexion Connection: Coaching Dancers With Poor Spinal Flexion

As a young competition dancer, Lauren Saglimbene struggled with spinal flexion, or the curving of the spine that contracts the front of the body and elongates the back. “My modern teachers were constantly correcting me because they thought I didn’t understand what a contraction was supposed to look like,” she says. “It took a long time for them to figure out my spine just didn’t move that way.”
Competition judges may ooh and ahh at a ridiculous back-bend, and ballet teachers fawn over the girl whose arabesque leg stretches far beyond 90 degrees. But that exquisite arch, known as the back’s extension, is only half of the equation. Flexion is equally important, and for some dancers, the motion poses a little-understood challenge that can leave teachers at a loss for how to help. Without mastering flexion as well as extension, students may be setting themselves up for failure.
A certified strength and conditioning coach, Saglimbene notes that all rotation or spiraling of the spine is half extension and half flexion, so even a small issue with flexion can limit the spine’s overall ability to move. For example, ballet dancers with poor spinal flexion can have difficulty achieving full épaulement and keeping their shoulders square in arabesque. Additionally, she warns that those with spinal imbalances will often experience back and neck injuries down the road—from arthritis (which she suffers from) to herniated discs to sciatica.
The good news is there are steps you can take to prevent this outcome. For younger dancers or those whose problem is only minor, she suggests exercises to lengthen hip flexors and psoas into students’ pre-class warm-up. (For extreme cases, where dancers can barely contract their spines at all, Saglimbene suggests referring students to a physical therapist, because correcting a lifelong imbalance is no easy feat.) “Often, dancers are sitting at a desk for the majority of the day, so the hip flexors and the psoas muscles start to get short. This creates a natural arch in the lower and middle back—the opposite of a contraction,” she says. “Core strength is a great place to start, but until those muscles are released and reset, it’s hard to improve on a contraction. You’ll be working against the resistance of very strong muscles.”
Saglimbene suggests three exercises to increase flexion—two stretches to help create movement in the spine and pelvis, and one exercise to teach dancers to use that extra movement correctly. They are rooted in sports science, designed to strengthen and stabilize muscles while avoiding overstretching.
Supine hip flexor release
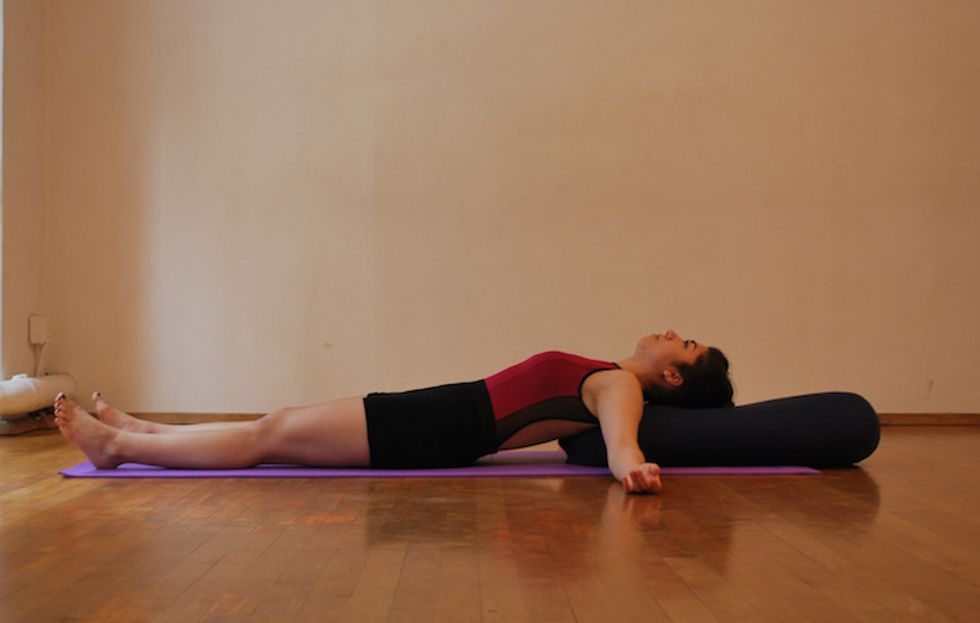
1. Lie on your back with a yoga bolster supporting your head and extending to just below your shoulder blades.
2. Let your legs relax at hip width. If legs flare drastically to the sides, tie a belt or towel around the knees.
3. Relax, letting the spine drop toward the floor. On students with limited flexion, the rib cage will be extended. Over time, this section of the body should relax.
* The longer you can stay in this position, the better. Start with a minute, breathing deeply and focusing on letting go of tension in the pelvis. Saglimbene recommends imagining your body is an ice cube melting in the sun.
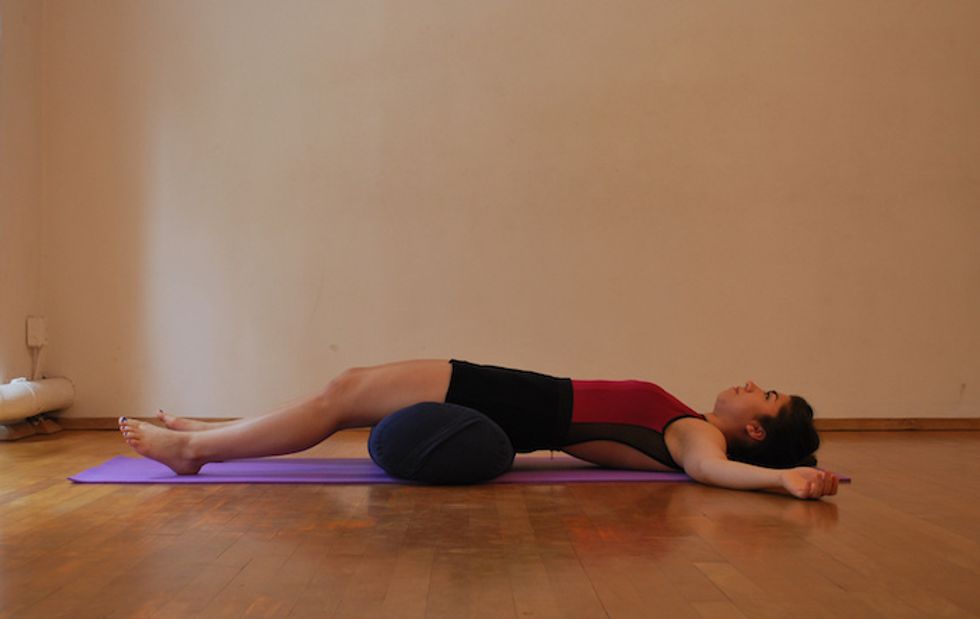
4. Try the “bottoms up” approach. Put the bolster beneath your hips (not under the vertebrae), so they’re lifted in a bridge, and let the lower back hang down. Arms and legs should be relaxed. Take deep breaths for at least a minute.
Rabbit pose
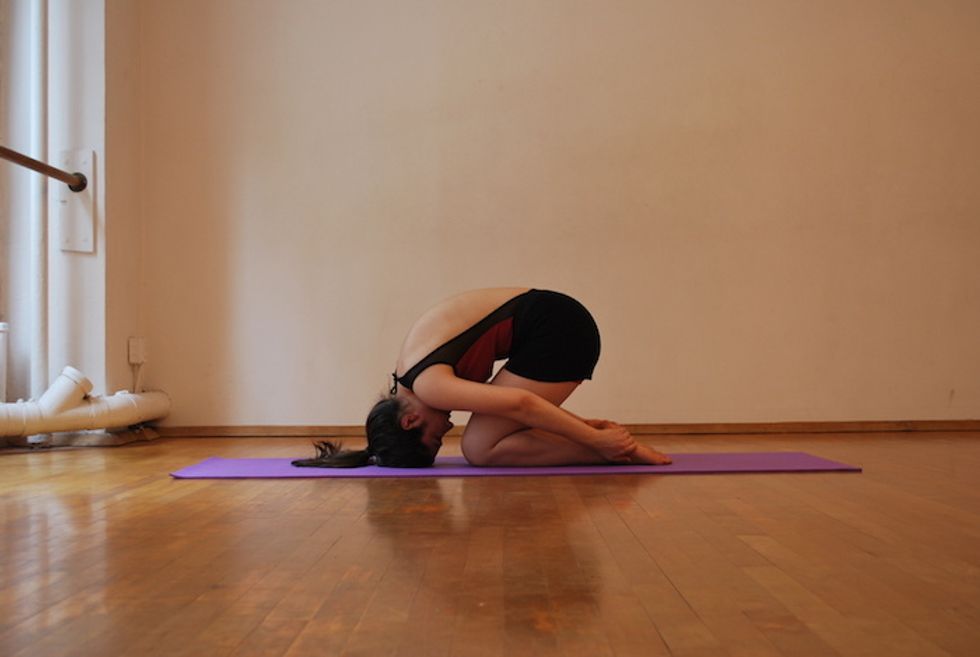
1. Kneel on a yoga mat with your hips on your heels.
2. Fold forward so the top of your head is on the mat, and reach back to grab your heels with your thumbs on the outside. The head should bear only a little weight.
3. Lift the hips. Keep the top of your head on the ground, and don’t look side to side. Your spine should make a C curve.
4. Exhale while pulling your heels and continuing to lift the hips. You should feel every vertebra stretching apart. The ultimate goal is to get your forehead to touch your knees.
Rolling with elbow on knee
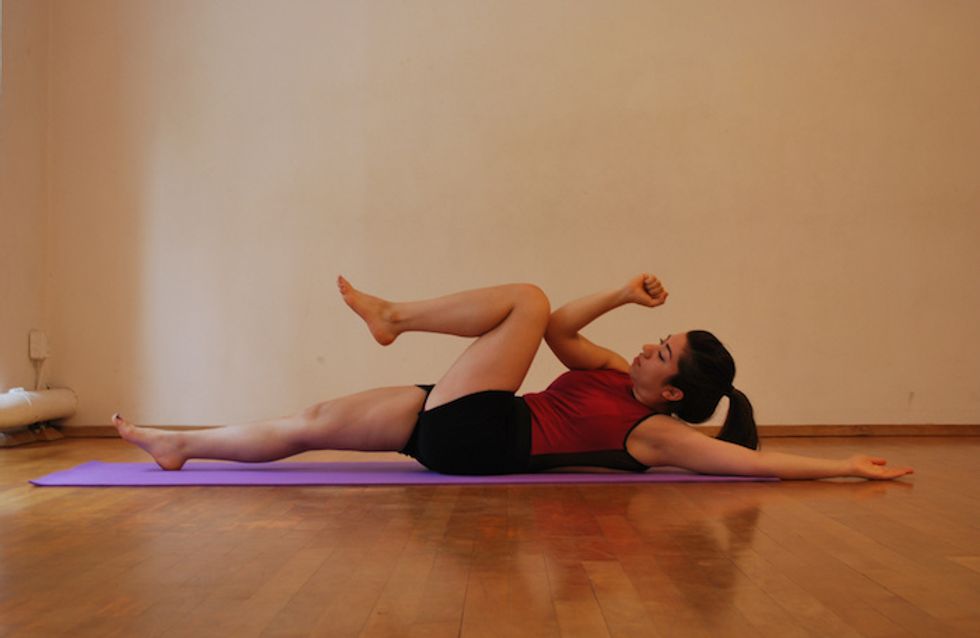
1. Lying on your back, extend your left arm above your head as you bring the right elbow to touch left knee. The spine will naturally form a gentle curve.
2. Maintaining the connection of elbow to knee, turn your head to the left and roll slowly onto your left side. Try not to let your extended leg lift off the floor.
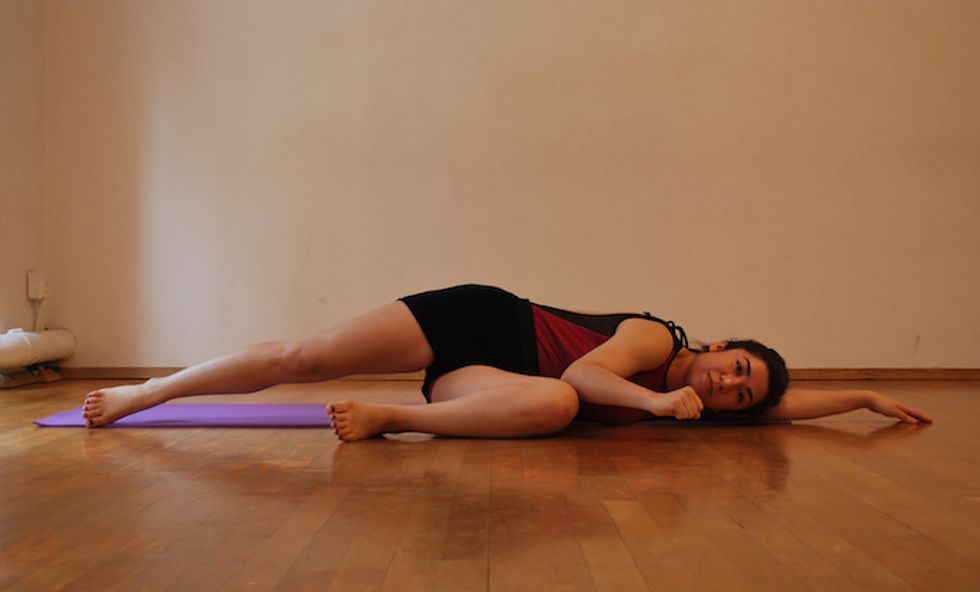
3. Then, look to the right to initiate the roll back onto your back. Repeat 6 to 12 times, then switch sides.
* This exercise promotes stability and coordination between the nervous system and muscles. You should feel it on the front side of the abdomen, not in the neck.