Megan Williams' Whole-Body Approach to Correcting Alignment and Technique
Have you ever looked at a student’s posture and said: “Close your ribs” or “Don’t grip your glutes” or “Use your abdominals more”? While that pinpointed correction may or may not have achieved the desired results in the moment, such phrases naturally raise a bigger question: “But how?”
Not all verbal cues are equal to the task of both identifying a problem and posing a solution. Corrections that are too pinpointed can result in a hyper focus that ultimately inhibits natural coordination. But what happens if you ask your students to imagine a waterfall, sucking water up the back line of the body and falling gently down the front? Using ideokinetic images and ideas—even those that are not anatomically or functionally accurate—can spark the imagination and get the whole body into action even while fixing a particular issue like flared ribs.
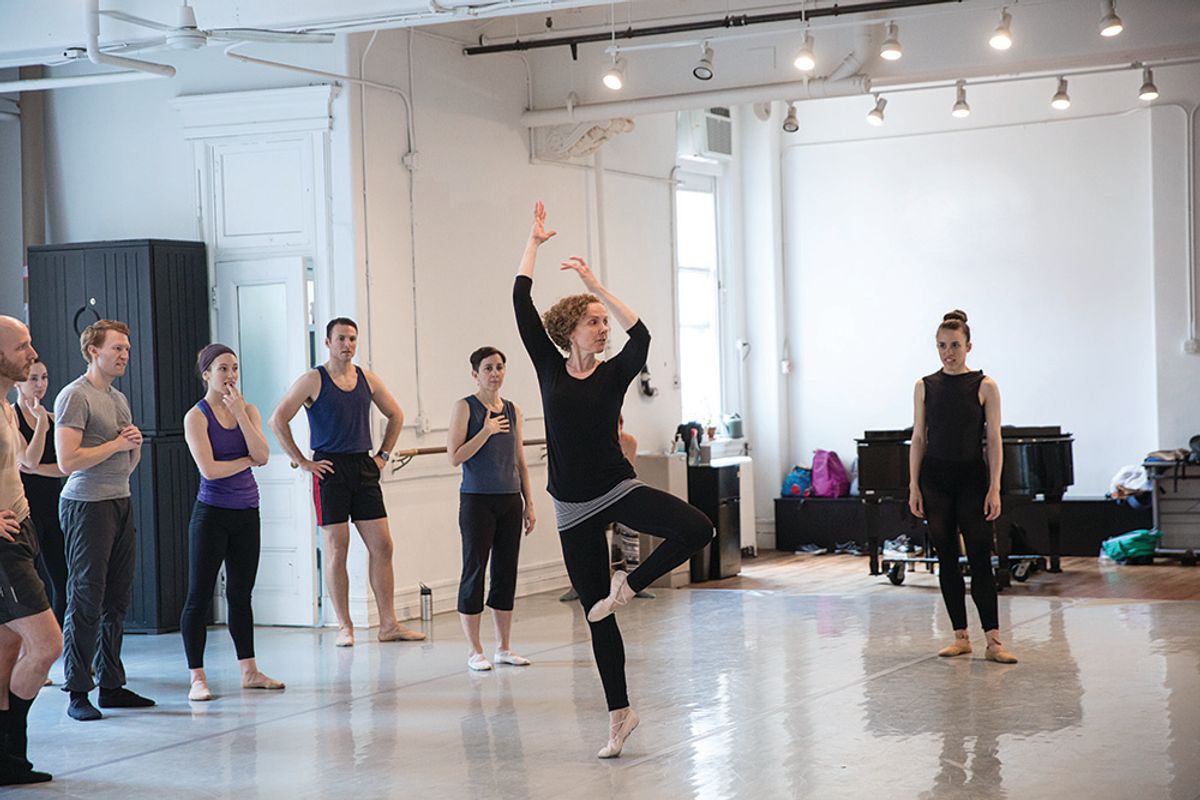
“Once you are in the studio you need kinetic and natural-world imagery instead of literal, anatomical terms,” says Megan Williams, a ballet teacher at Gibney Dance who has been on faculty at Marymount Manhattan College, Hunter College and Connecticut College teaching functional anatomy for dance. “Themes of light, water running, spirals, bubbles in the joints. Using these elements in cuing can support the feeling of the whole body dancing, not just one muscle.”
Know What You Are Describing
“The truth is, your ribs really can’t close in front,” says Williams. “At most, you can’t change that space more than a half inch, even if you are squeezing your abdominals or holding your breath.” When teachers ask students to “close their ribs,” Williams believes they are usually trying to coach a better alignment of the rib cage over the pelvis.
In the case of the rib cage, simply breathing ensures that your ribs are constantly in motion. Additionally, moving your spine also moves your ribs. “You have to know what it is you are describing,” she says. “And for the ribs, it is interesting to note where the diaphragm is in order to develop an image you may want to use.”
Developing an Image
Think about the whole circumference of the inferior rib cage as being a disc, suggests Williams. It is a disc floating in the center of the rib cage, just above the xyphoid process, that you could move forward or back or side to side. You might even ask your students to imagine this disc as a lazy Susan on the horizontal plane. With this feeling of play, your students are free to use their intuition to move and adjust their rib cage into the most ideal placement over their hips.
While some students may immediately respond to more whimsical, poetic imagery like this, others may be best able to visualize something more straightforward and geometric. You could suggest aligning the ribs by locating them as a point along a vertical line, for instance: Simply ask students to line up their forehead, sternum and pubic bone.
The important thing, according to Williams, is to cue using bony landmarks over muscles. “That way your students can move in three dimensions,” she says, “in an expansive way without over-recruiting certain muscles.”
Taking It to the Next Level: Imagining Pirouettes and Jumps
Turns and leaps require both alignment and coordination, using breath, rhythm and the whole body. These progressions are fertile ground for creating your own imagistic cues and diagrams. Here, for example, is how Williams suggests her students imagine themselves in a jump.
1. Imagine a stacked set of discs on the horizontal plane, suspended one over the other: the floor, your feet on the floor, the pelvic floor and the sitz bones, the bottom of the rib cage or diaphragm, your first rib and shoulder girdle, and the roof of your mouth.
2. Push away from the floor evenly with both feet, as if the floor were made of wet sand, allowing the impressions to be equal.
3. Let the plié and springlike coil of the relevé take these horizontal planes upward and forward, evenly, into the turn or jump.
4. Upon landing, feel your feet open up and receive the floor as if it were soft moss or a sponge.
Allow your spine throughout to remain resilient and responsive, maintaining all of its natural curves. “Your spine is not straight. Rather, there is an imaginary vertical axis that falls from the top of your skull out the center of your pelvis,” she says.