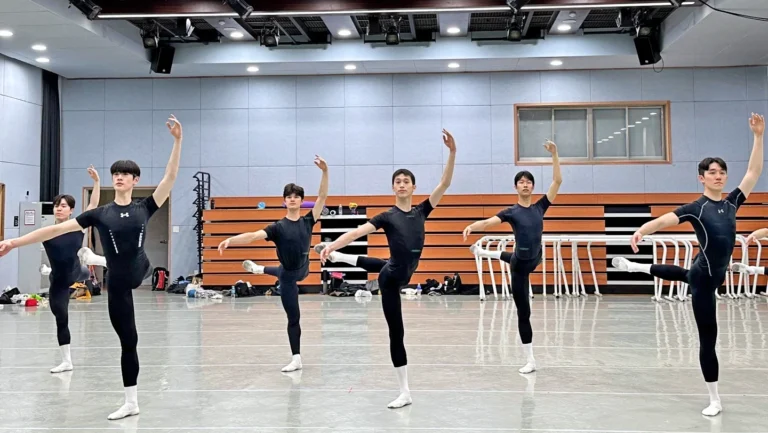
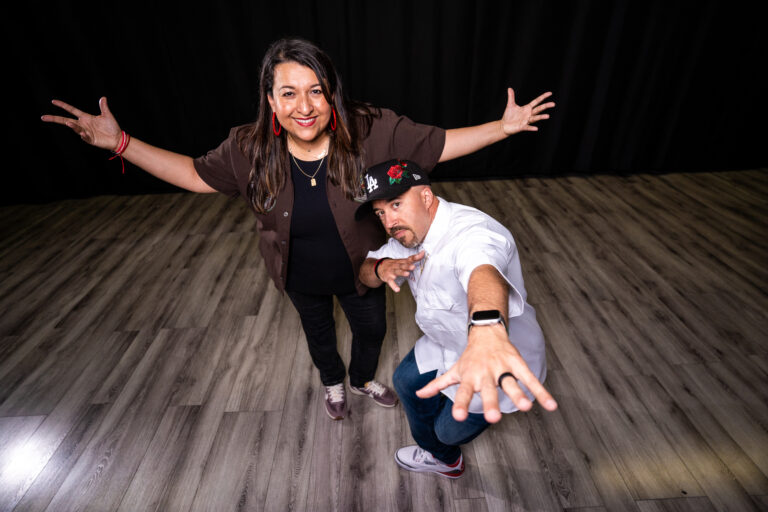
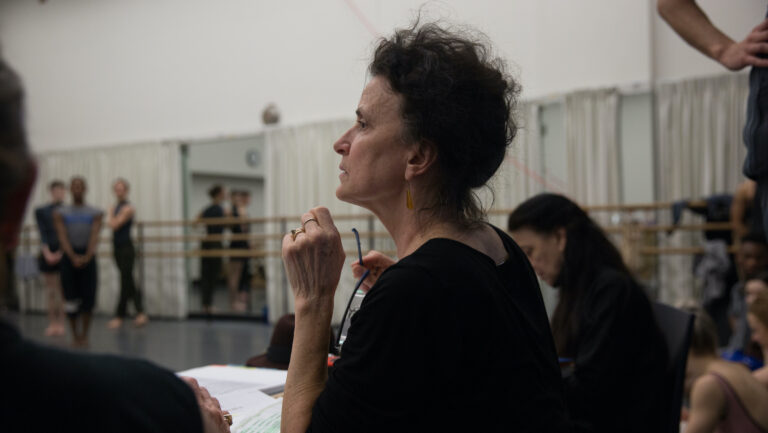
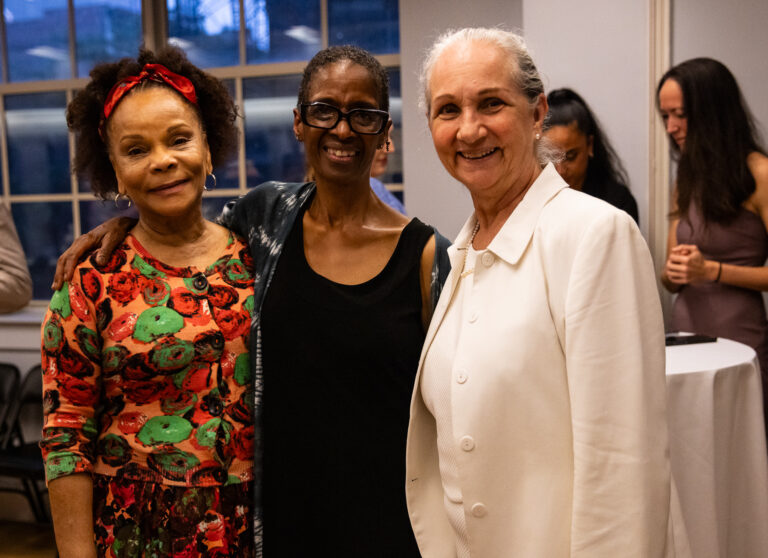
From left to right: Irene Dowd, Sheila Barker, Finis Jhung and Pamela Pietro
Bad habits—they’re enough to drive any dance teacher batty. Seeping into a student’s technique, their routine, almost involuntary nature makes them extremely difficult to break. Dance Teacher asked Finis Jhung, Irene Dowd, Sheila Barker and Pamela Pietro for their advice on conquering common bad habits they see in class.
Jutting Chin
The tendency to jut the head and chin forward feels so subtle that many dancers aren’t aware they’re doing it. Luckily, adjusting their alignment ever so slightly makes a world of difference. Irene Dowd, who teaches movement-based anatomy/physiology classes at The Juilliard School, uses these two cues to help students have a longer, more relaxed neck and face.
With your fingertip, find where the dancer’s central axis comes out through the top of the head, right above the ears. Have the student “get taller—press against my finger away toward the sky,” says Dowd.
Don’t place your fingertip too far forward on the head. “If it is, the face is going to tilt up,” she says.
For the second cue, place two fingers on the back of the head, near the base of the skull. Ask the student to “put eyes on the back of your head, open those eyes and see what is behind you.” This also refreshes the face and eases the jaw.
Rounded Shoulders
A common postural habit is allowing the shoulders to round forward. In a misguided effort to fix the problem, many students squeeze their shoulder blades together. Instead, Dowd recommends a multistep approach to help dancers discover a more useful strategy.
First, widen the distance between the shoulder joints to the sides, “so that both the front and the back of your shoulder girdle expands,” says Dowd.
Lift the arms to second position, reaching out with the fingertips as if to touch someone or something you love. “The third finger is going to lead the lower angle of the shoulder blade out into space,” says Dowd.
Lift the arms overhead to fifth position, which automatically widens the shoulder blades in back and wraps their lower tips around the armpits.
Sustain the shoulder blades wide as you bring the arms down again into second.
Lifeless Arms
Limp, droopy arms are one of Sheila Barker’s pet peeves. “There’s no energy flowing through the body and the fingers,” says the popular Broadway Dance Center jazz teacher. Holding excess tension in the neck and shoulders, and failing to initiate port de bras from the back are usually the culprits (as opposed to lengthening the neck, relaxing the ribs down and rotating through the shoulder, releasing energy down the arm and past the fingers). “It’s not just about the arms,” says Barker. “It’s all connected to the body.”
To identify what muscles to engage, Barker recommends dynamic arm rotations in second position (forward and backward). Keeping the shoulders down and neck relaxed, feel the movement initiate from the upper back and scapulas. Use the breath, feeling a release through the back.
Don’t initiate movement from the shoulder girdle and neck. “It doesn’t come from the shoulders,” says Barker. “It comes from the back. There’s an energy and flow and breath that has to be included every time.”
Barker often sees energy stop at the elbows. Have students flex their wrists and wiggle the fingers to reconnect them to their lower arms and hands. “Then shake it all out to release some of that energy.”
Splayed Ribs
When Pamela Pietro, an associate arts professor at New York University’s Tisch School of the Arts Department of Dance, asks students to narrow and concave their abdominals, they sometimes respond by splaying their ribs out into their front space. They frequently forget to utilize the back of their rib cages. “They pull together in the front, but that’s where your diaphragm is, your breathing mechanism,” says Pietro. “The rib cage needs to move out and in because there’s cardiovascular activity.”
To correct splayed ribs, lightly press your hand on the back of the student’s rib cage. “I ask them to draw their rib cage into my fingertips,” says Pietro. “It gives them an area in their back space as they widen and expand.”
At the same time, feel the feet draw into the floor while the top of the head moves up toward the ceiling. “Now we’ve created this big, wide, three-dimensional area.” For added imagery, ask students to visualize the rib cage as gills that billow in and out, rather than a static cage.
Arching the Lower Back
Arching the back is another poor postural habit that consequently releases the stomach muscles and tilts the pelvis down. When Barker sees dancers habitually sink into their lower backs, she recommends this floor exercise to help strengthen their abdominals and lengthen the spine.
Lie on your back, with knees bent and feet flat on the ground, hip width apart. Lift the arms overhead, keeping the shoulders and ribs down, and feel the stomach engage into the lower back. Take a deep breath and exhale.
Point the feet and inhale. On the exhale, bring the knees into the chest. Without arching the back, lower the legs down, keeping the feet pointed.
On the next exhale, lift the knees again and bring hands behind the head. Inhale, and on the exhale curl the upper body in, bringing the elbows into the knees. Holding the position, take another deep breath. Relax any tension in the neck.
On the next exhalation, extend legs to 90 degrees, elbows still reaching toward the knees. Hold for two breaths. “You’re not bouncing,” says Barker. “You have a continuous flow of energy just breathing and holding.”
Flex the feet, lengthening through the legs and maintaining the upper-body curl with elbows in. “Feel the energy going out and up,” says Barker. Hold for two breaths, and release.
Hiked Working Hip
A common bad habit (noted by master teacher Finis Jhung) occurs when students hike the working hip during passé and développé. In an effort to pull up in their supporting leg or to lift the working leg higher, they neglect their hip alignment, resulting in a tilted pelvis. “It’s a bit hard to pirouette like this,” says Jhung. “It’s really easy to fall over, though!”
To help identify proper hip alignment, have students execute a simple grand plié in first position, preferably facing a mirror. Point out the squareness of the hips at the bottom of grand plié. “The knees are level with the hips, and your pelvis is not tilted,” says Jhung.
With that added awareness, have them try passé, keeping the hips as level as possible. “You want to keep yourself always in the center of the body, balanced and square.”
Knees Not Aligned Over Toes
When students measure their turnout based on the position of their feet, they often wrench them past their natural hip rotation. As a result, their knees don’t align over the toes (especially in plié), putting them at risk for injury. “The foot rolls in, the knee collapses and there’s no support or muscular control,” says Jhung.
To help students determine their true range of rotation from the hip, start by having them stand in parallel facing a mirror, with both hands on the barre. Lift the right leg to 45 degrees, keeping the foot flexed.
Turn out the right leg, making sure not to move the hips, and lower.
Repeat with the left leg, finishing in first position. Do not bend the knees to force turnout at the ankle. “This is your personal position,” says Jhung.
Plié sideways to the mirror to ensure that the hip, knee and toes are in alignment. Feel contact with the floor and a muscular connection between the hips, knees and toes.
Holding Tension in the Feet
“This habit drives me crazy,” says Pietro. “Students do not use their feet to the fullest expansion, so the toes start crunching.” She cites over-pointing the foot as the source of tension. “Aesthetically it’s a great line,” she says, but dancers often neglect to release the foot as it articulates through the floor, especially while attempting to find their balance or move rapidly. “I like them to feel the extension of the foot drawing into the floor, so that they’re using the entire foot—the top, the bottom and all the way around.”
Photographed by Kyle Froman


