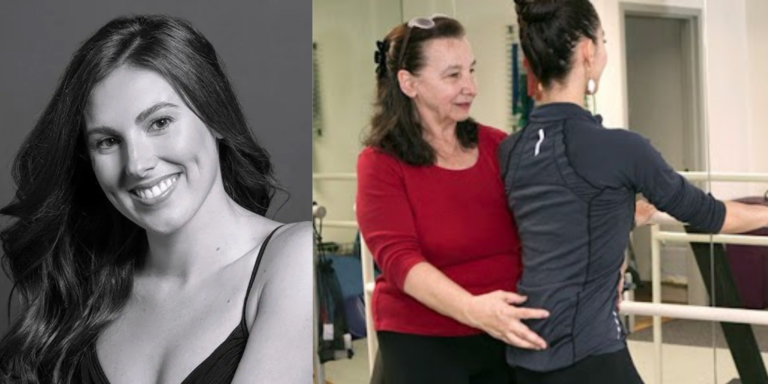

When master tap teacher Debbi Dee asked the Library of Congress if they would be interested in acquiring her multivolume collection of instructional tap DVDs, she was hoping for a positive response. What she actually got was a counteroffer: They wanted all of the resources she was willing to give them.
The Library of Congress is now in the process of cataloguing and digitizing over 2,000 articles, photos, choreography notes, CDs, and other materials that make up Dee’s 55-year teaching career. “It’s my entire life’s work,” says Dee, who received the 2020 Lifetime Achievement Award from Dance Masters of America.
Trained by vaudeville star Curley Fisher and mentored by Broadway choreographer Henry LeTang, Dee enjoyed a performance career that took her from her hometown of Rochester, New York, to stages and nightclubs around the country. Now living in Boynton Beach, Florida, she shifted her focus to teaching, especially advanced students and fellow tap instructors.
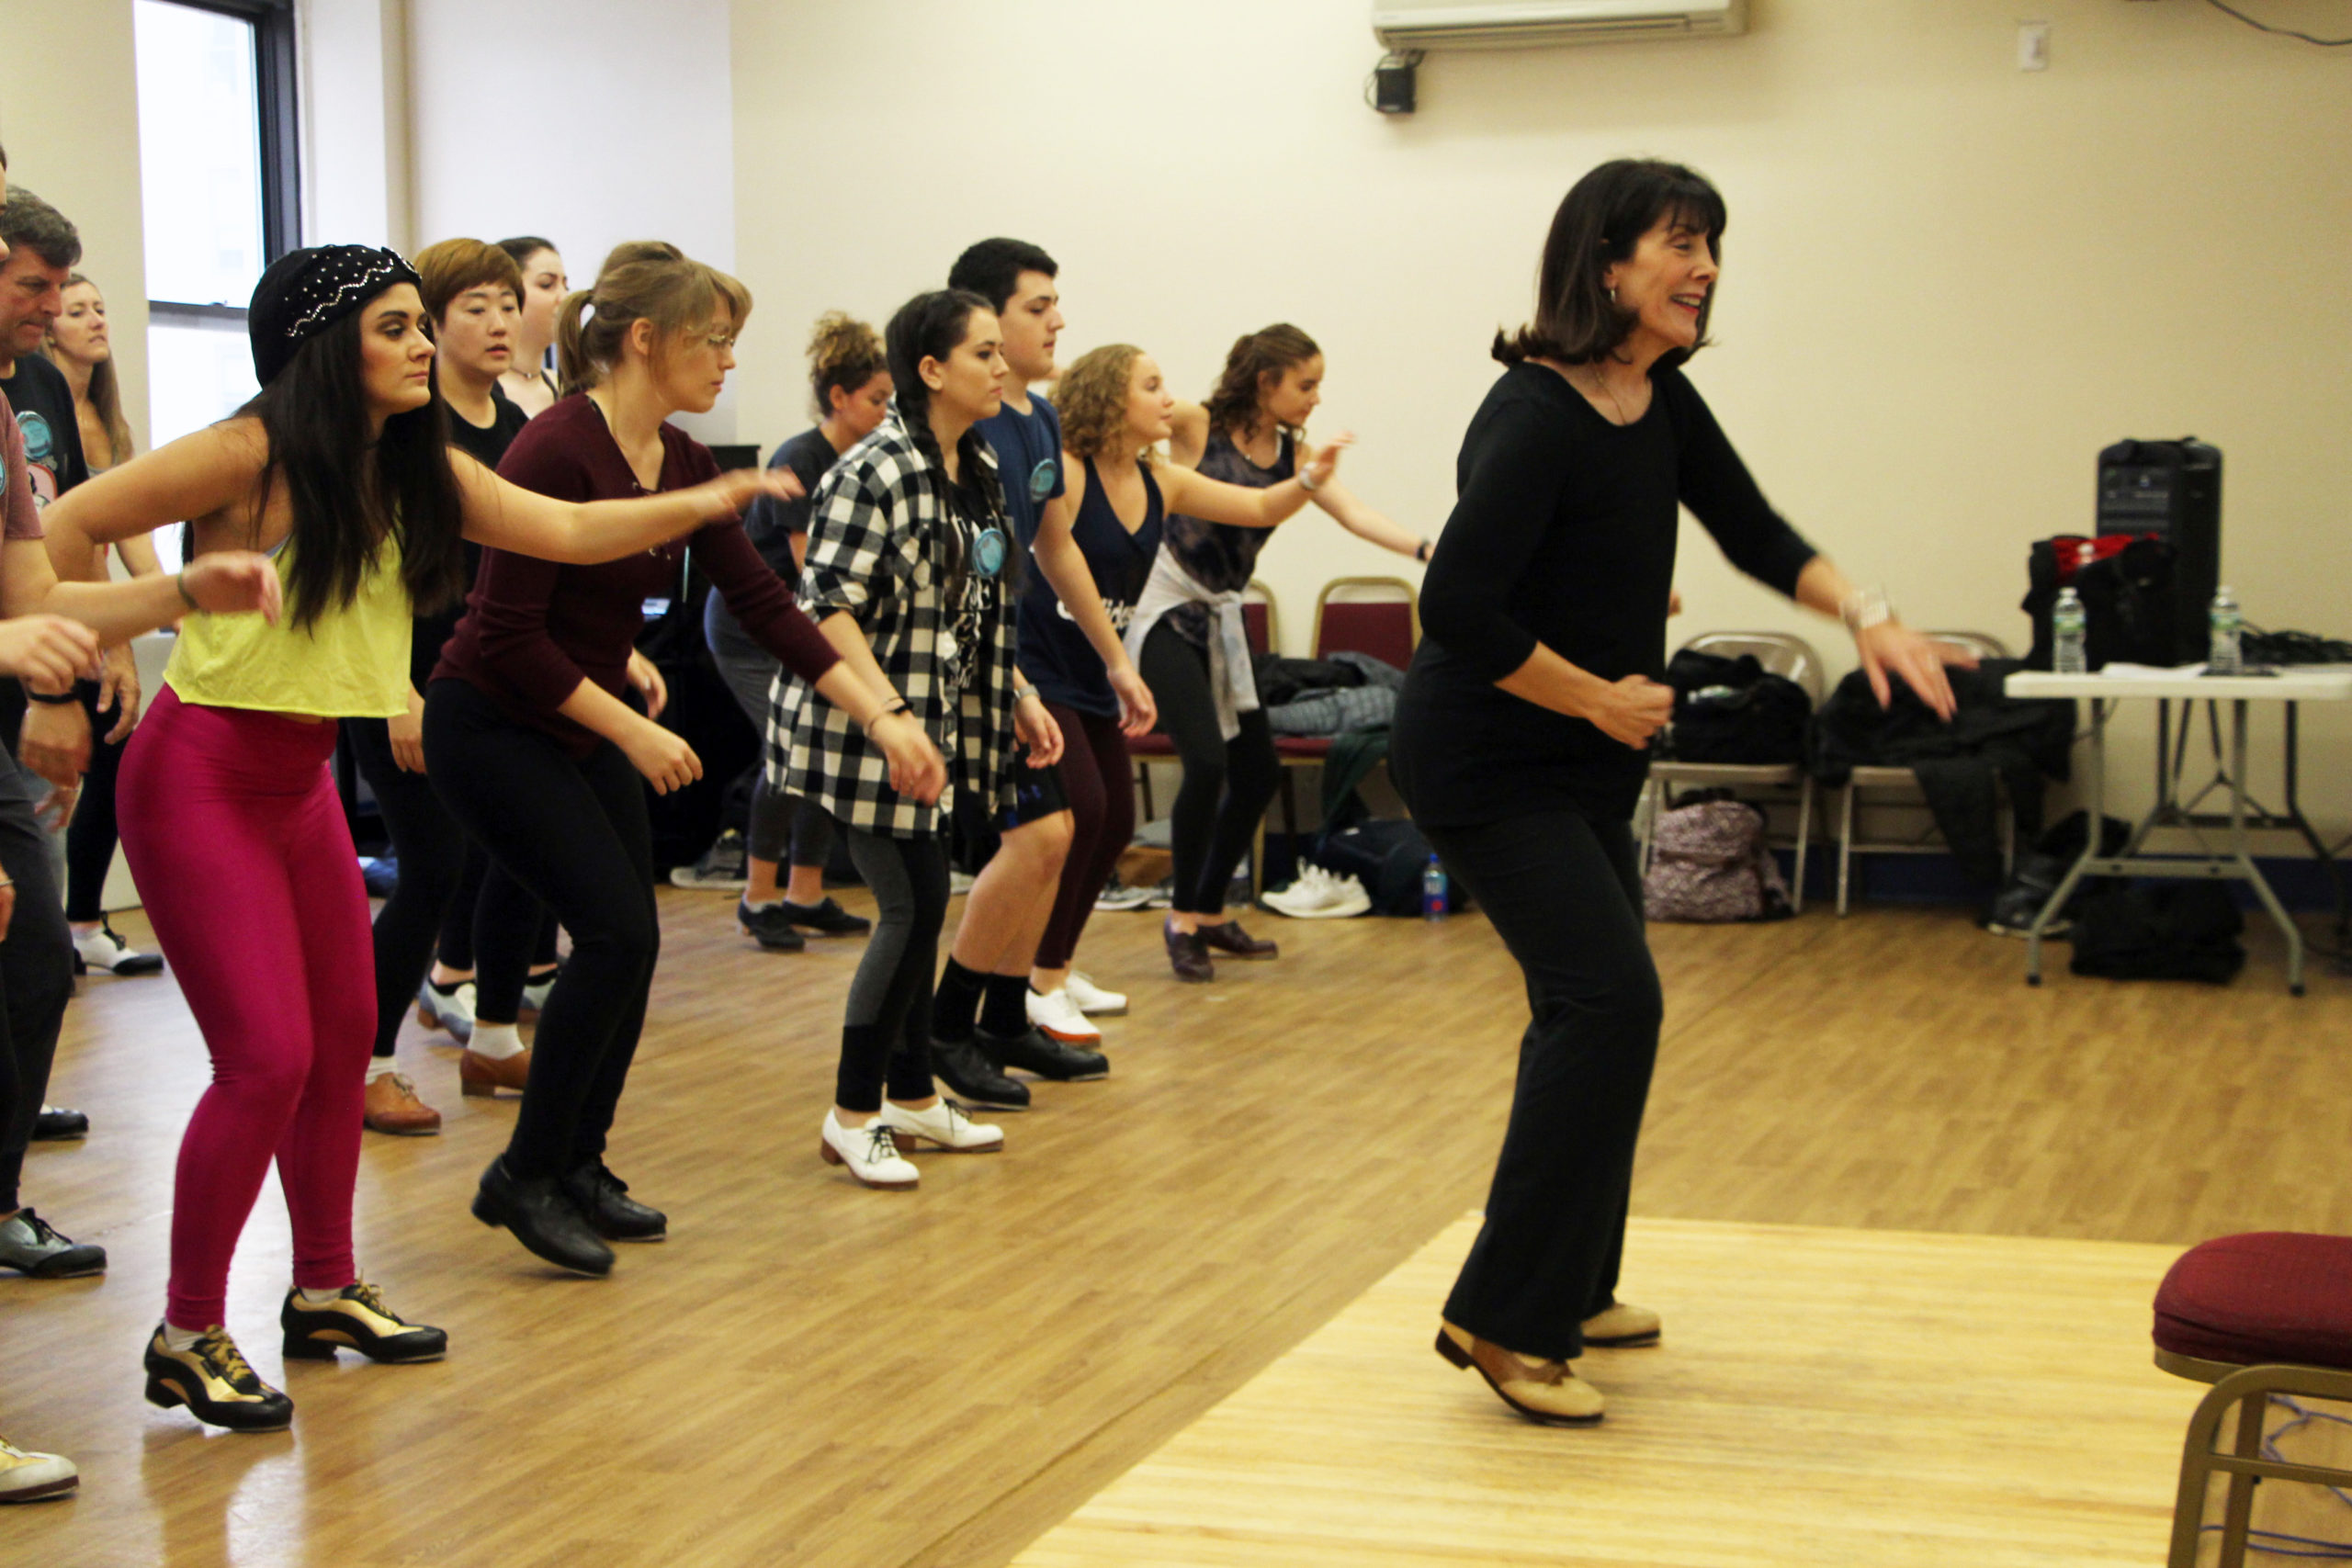
Some of her favorite steps to teach are tap turns. “They’re such an added bonus in any choreography, and I don’t see them enough,” she says, noting how popular they were with Hollywood hoofers like Eleanor Powell and Ann Miller. In fact, one of the DVDs Dee gave to the Library of Congress features over 100 of them. (“But who’s counting?” she jokes.)
The Latin rhythm turn, which can travel, includes multiple rotations. It can also be deconstructed into multiple, separate turns, especially to scaffold instruction. Dee recommends teaching this step initially without the turns. Students can keep their arms in one position, such as second. Once they master the footwork, students can experiment with how their arms can enhance their performance.
The first part of the step has a Latin rhythm: 1&2&3&4&5. The right foot makes sounds on the downbeat, and the left foot makes sounds on the offbeat. “The dynamics of this part alone make it a wonderful turn,” says Dee.
Step by Step
Note: Dee’s lesson plan below is tailored towards intermediate/advanced students.
Step 1: While facing forward, stamp on the right foot (1), tip your left toe (sometimes called a “toe hit” or “toe jab”) behind you (&), and drop your right heel (2). “Make sure you’re grounded in a plié,” Dee says.
Step 2: Step back on the ball of your left foot (&), spank your right foot (3), drop your left heel (&), tip your right toe behind you (4), and drop your left heel again (&). The spank (also known as a back brush) on the count of 3 is what propels your rotation.
Step 3: Stamp your right foot on the count of 5, which shifts your weight onto your right leg. This weight shift is critical to prepare you for the next part of the step. You should stamp in the direction in which you’re going to continue the turn. The second half of the rhythm is: 6e&7&8&. In contrast to the first section, you should now stay lifted through your center. These last two steps allow for several rotations.
Step 4: Leap onto your left leg on the count of 6 and riff your right foot (e), ending with a heel drop (&) on your left foot. This step is sometimes known as a flying riff. The riff itself has two sounds (toe + scuff) that fit into one beat. If you wanted to count the 16th notes precisely with your students, you might say “6ae&” or “leap and riff heel.” When traveling across the floor, you can turn on the flying riff. For an additional challenge, replace the leap with a flap (a6).
Step 5: Finish with a step heel on the right (7&) and on the left (8&). When you practice the rhythm in place, these step heels can face the front. When traveling, you can complete another rotation.
Dee says that these step heels can be isolated as a basic exercise for turning and spotting with a clear rhythm. With the rhythm of 1&2&, students can practice turning over either their right or left shoulder, snapping their head on the last heel drop: step, heel, step, snap; step, heel, step, snap.
The ability to spot a turn clearly is important in a lot of ballet and jazz work as well. “There’s usually a bass sound that tells you when to turn,” says Dee. “Your footwork and your head are partners in a tap turn.”
Watch the full video tutorial below: